Big red laser cutter
info about our hardware
The big red laser cutter in sudo room is some no-name model. It uses a Ruida 644XG control board and LightBurn can speak to it (we were running LightBurn 0.9.24 earlier but the 30 day trial expired).
Its bed dimensions are about 730mm wide by 500mm Y-axis
The Melbourne Makerspace has the same laser and have a nicely written wiki page on it.
how to use it
Open Lightburn (comes with a one-time free 30-day trial period) and get to cutting. We are planning to buy a copy for the desktop computer next to the laser cutter, but until then feel free to use up your 30-day trial on your laptop. Or get one of the other (free) pieces of software to work:
other software
As mentioned, RDWorks can also be used. We haven't tried it yet but it seems it's a free download from here.
Some of the software (downloaded from the above link) is on the hard drive of wasp.local which is a desktop computer under the 3D printer desk, in a folder called ~/laser-backup/
The above software has also been downloaded and stored here
it was setup with an IP address of 100.64.64.69 (by pressing buttons through the menu) but it had no ports open and then we just switched over to USB to the computer and it was working fine. The same software might work over ethernet but we didn't try.
Trying other things
Andy is trying to find software to control the laser cutter. I can generate gcode instructions in Inkscape, but I don't know how to send them to the printer over USB.
I'm trying to install [1].
I ran the commands here : https://laserweb.yurl.ch/documentation/installation/36-install-raspberry-pi. But the server gave an error when started:
Server binding to all local IP addresses on port: 8000 internal/modules/cjs/loader.js:818
 throw err;
 ^
Error: Cannot find module 'node-hid' Require stack: - /home/laser/Programs/lw.comm-server/server.js
   at Function.Module._resolveFilename (internal/modules/cjs/loader.js:815:15)
   at Function.Module._load (internal/modules/cjs/loader.js:667:27)
   at Module.require (internal/modules/cjs/loader.js:887:19)
   at require (internal/modules/cjs/helpers.js:74:18)
   at Object.exports.LWCommServer (/home/laser/Programs/lw.comm-server/server.js:168:13)
   at Object.<anonymous> (/home/laser/Programs/lw.comm-server/server.js:4141:13)
   at Module._compile (internal/modules/cjs/loader.js:999:30)
   at Object.Module._extensions..js (internal/modules/cjs/loader.js:1027:10)
   at Module.load (internal/modules/cjs/loader.js:863:32)
   at Function.Module._load (internal/modules/cjs/loader.js:708:14) {
 code: 'MODULE_NOT_FOUND',
 requireStack: [ '/home/laser/Programs/lw.comm-server/server.js' ]
}
Stuff made on the big red laser cutter
- I cut some 1/4 clear plastic suspected to be acrylic. Used .5mm/sec 100%/40% power. It cut all the way through but the edge was rough.
Stuff seen around the space
ventilation ducting
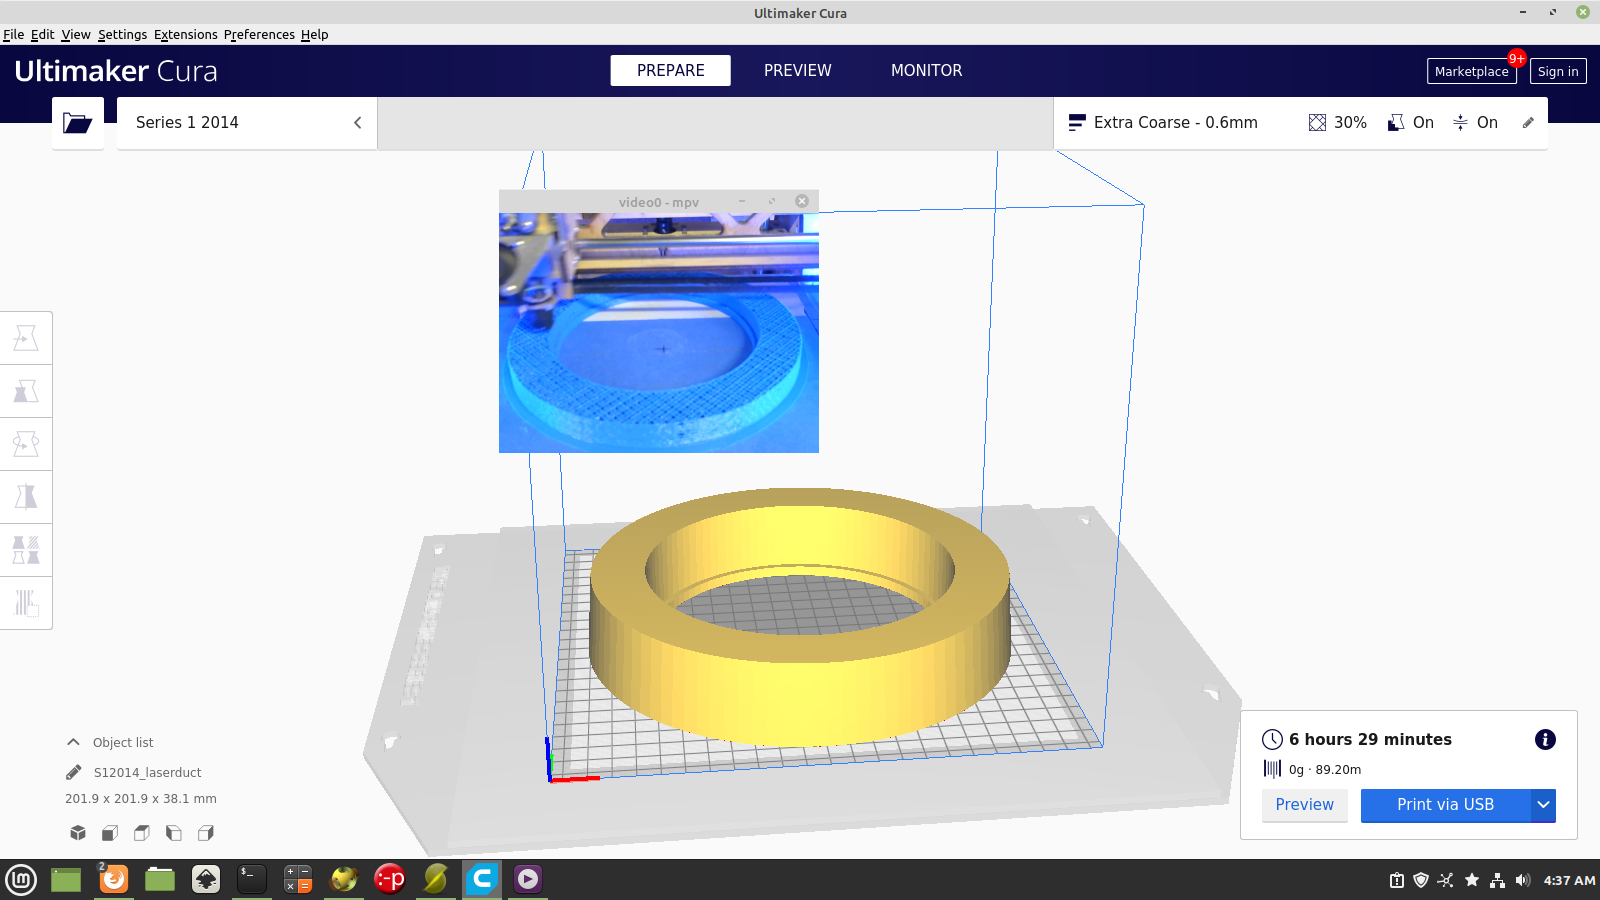
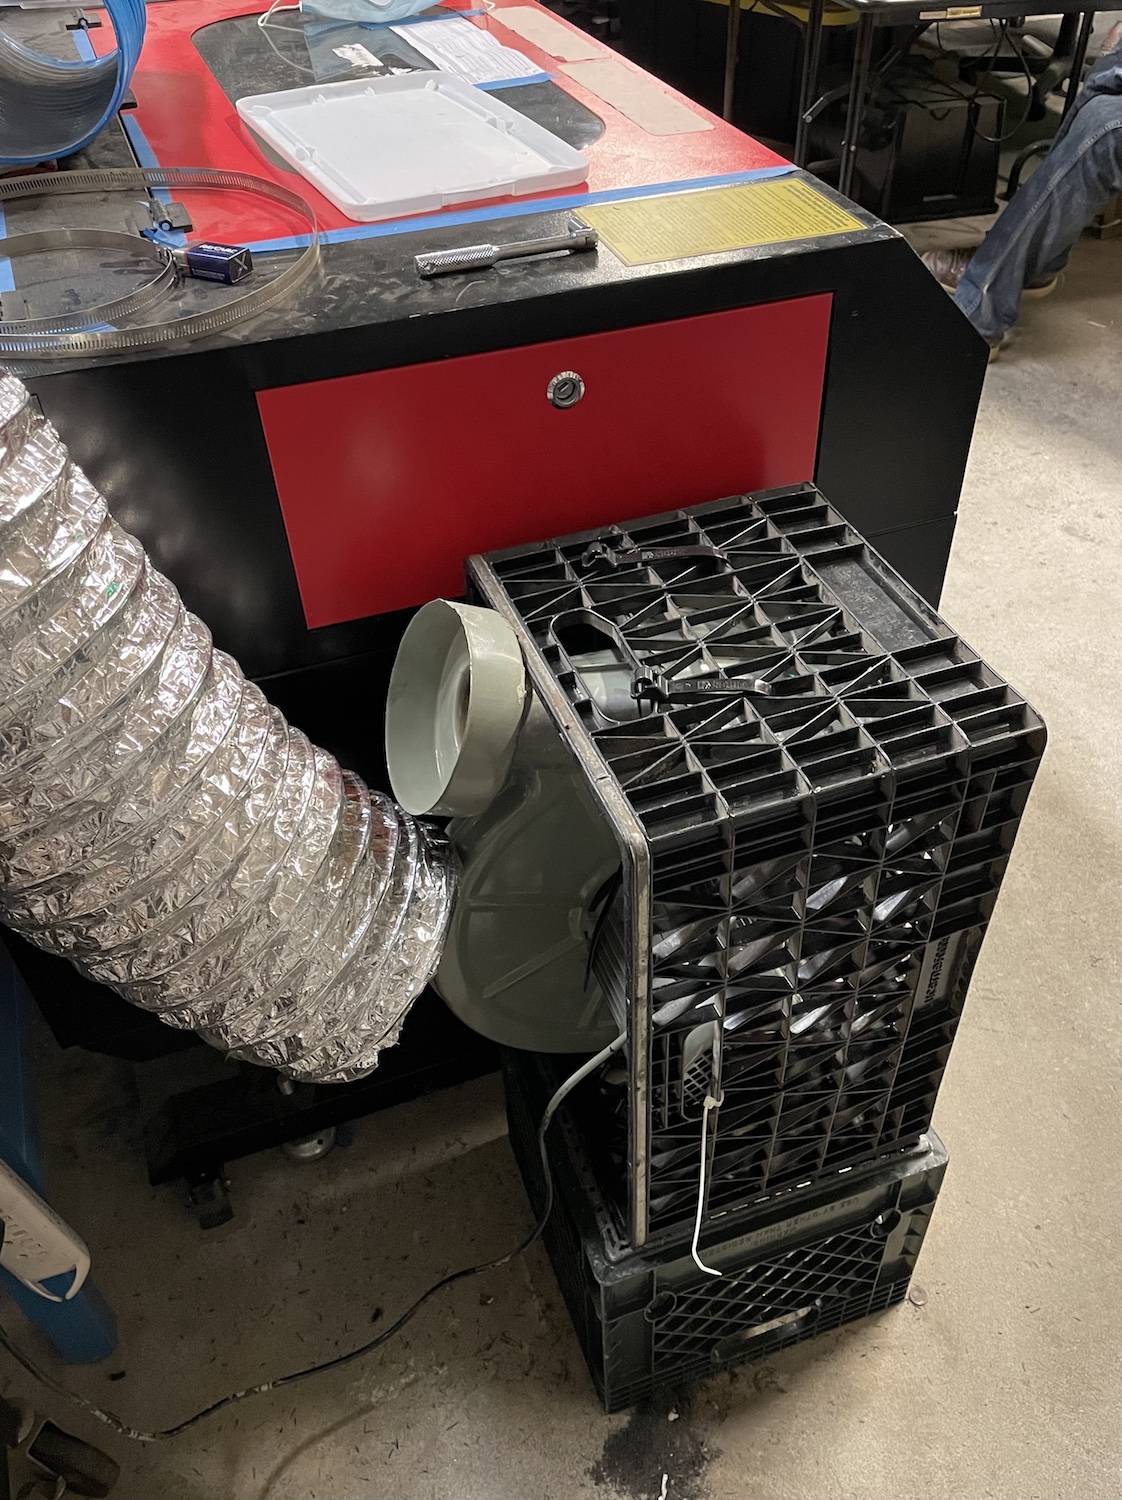
a plastic adaptor was 3D printed to connect the 6" outlet of the exhaust fan to the 8" flexible duct leading to the roof hole:
laserduct.scad
THICKNESS=1.5*25.4;
ID=5.75*25.4;
ID_LIP=ID-(0.25*25.4);
ID_LIP_THICK=0.2*25.4;
OD=7.75*25.4;
OD_LIP=OD+0.2*25.4;
OD_LIP_THICK=0.2*25.4;
difference() {
 color("BLUE") cylinder(d1=OD_LIP, d2=OD, h=THICKNESS, $fn=100);
 {
   translate([0,0,ID_LIP_THICK]) cylinder(d=ID, h=THICKNESS, $fn=100);
   translate([0,0,-0.5]) cylinder(d=ID_LIP, h=THICKNESS, $fn=100);
 }
}
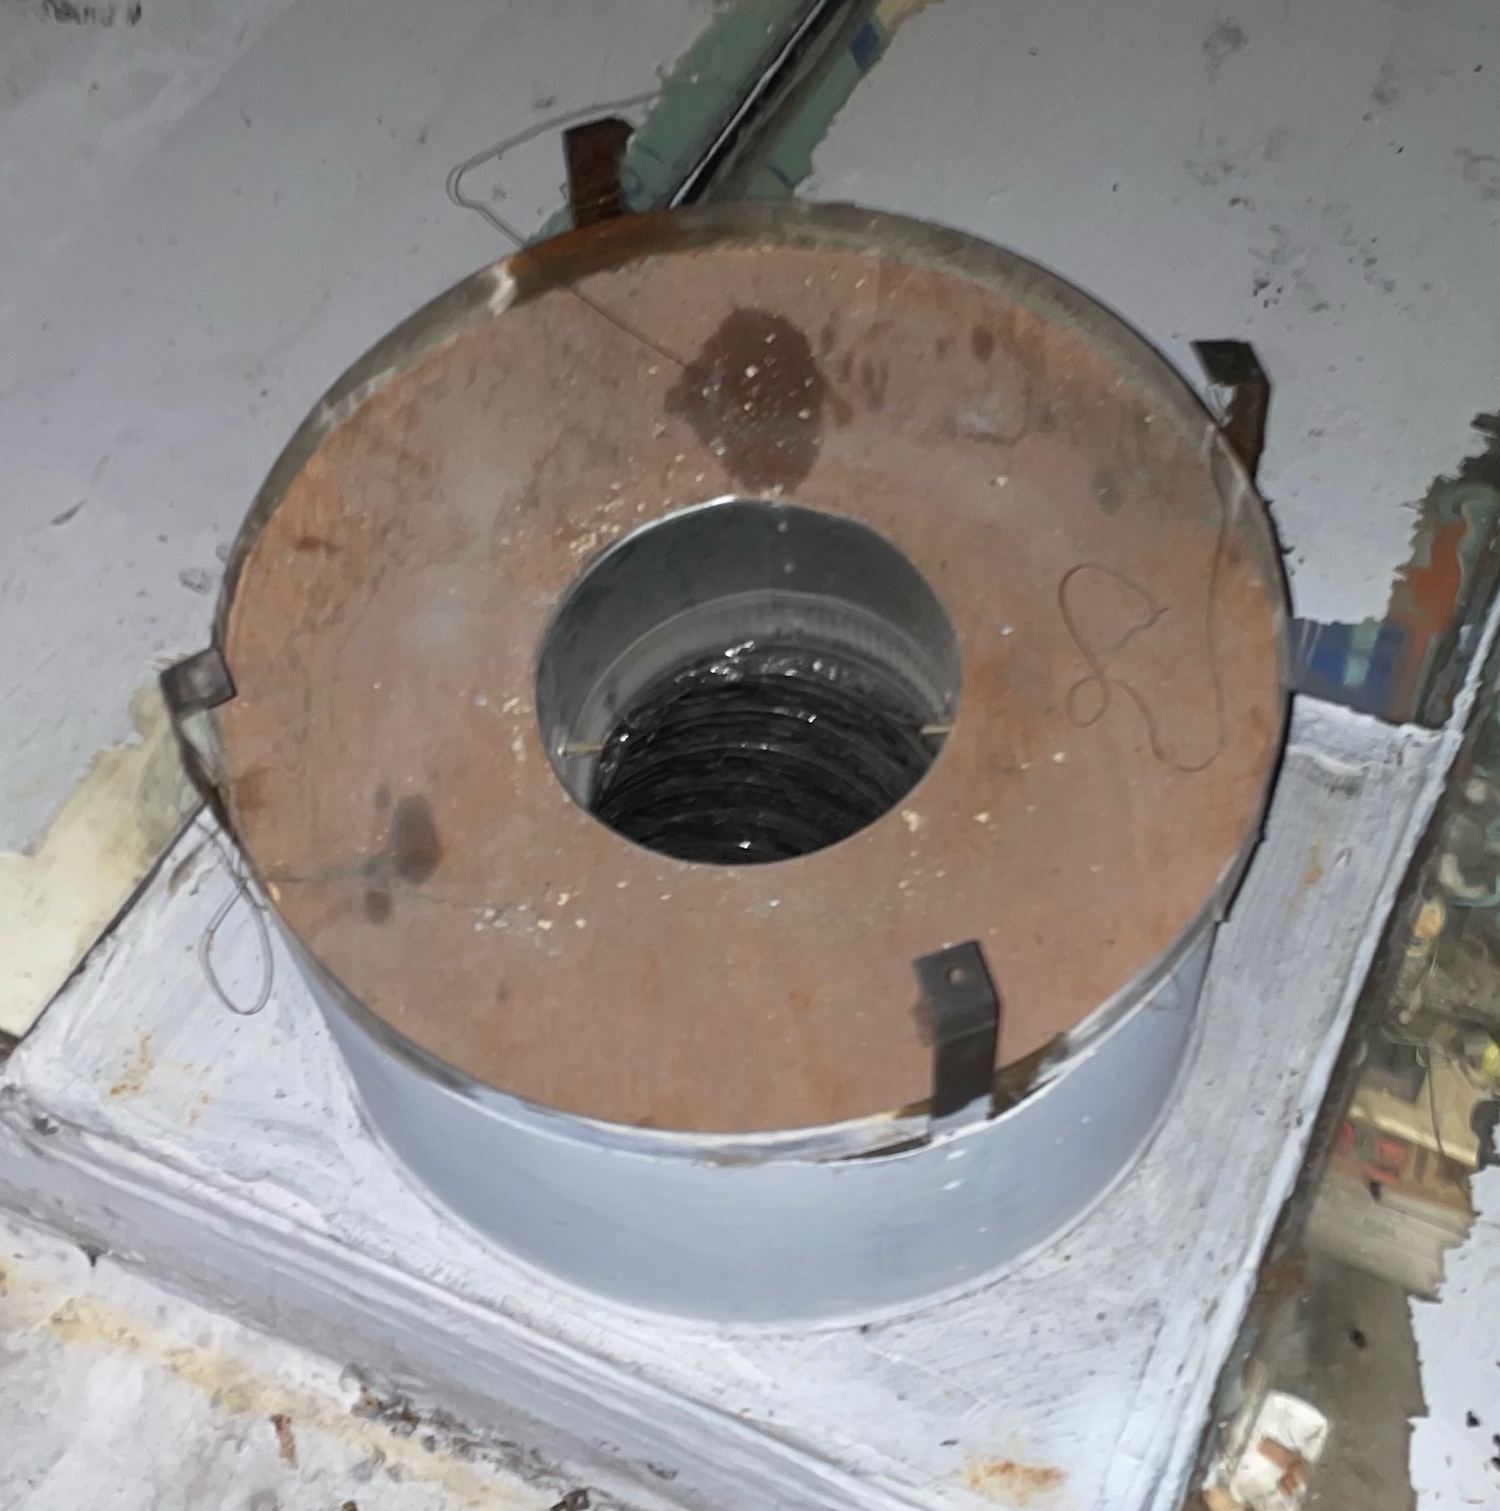
Also the duct/roof interface was improved and a new stand was made for the extractor fan. Yay for milkcrates!


