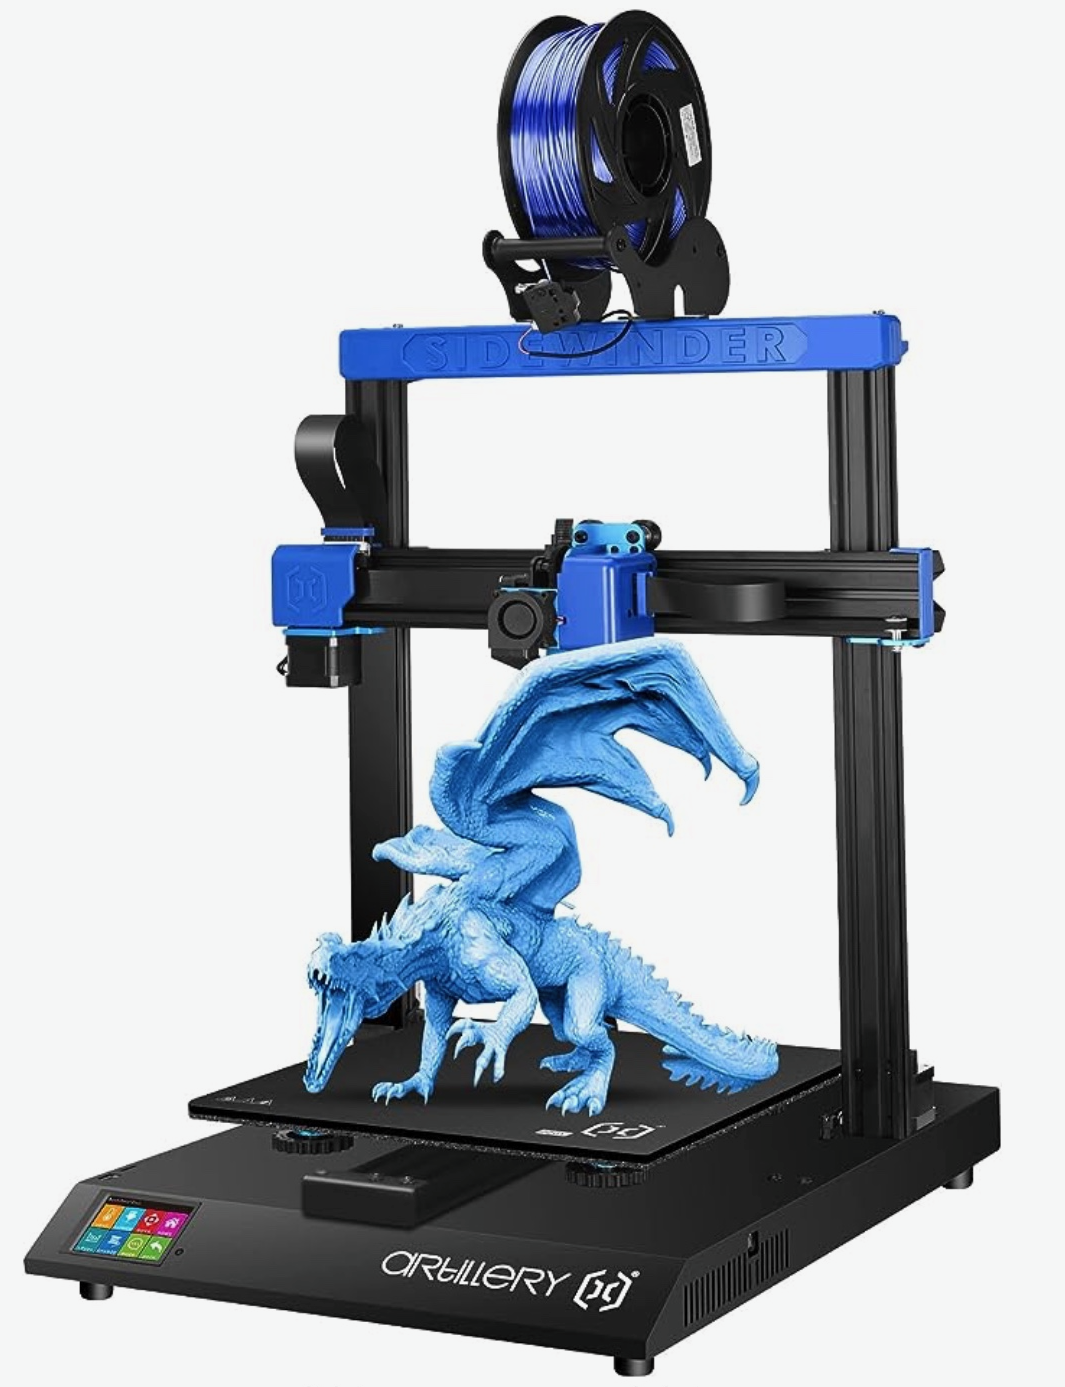
Difference between revisions of "Artillery Sidewinder X2"
m (safety?) |
|||
| (6 intermediate revisions by 3 users not shown) | |||
| Line 1: | Line 1: | ||
[[File:Image_10-17-23_at_7.51_PM.png |thumb|right|200px|link=Artillery_Sidewinder_X2]] | |||
==Status== | ==Status== | ||
The printer is | The printer is not working (July 12th 2025) -- see log below. | ||
==Printing Tips== | ==Printing Tips== | ||
* Occasionally (twice in ~20 jobs) this printer will go nuts while homing at the beginning of a print, and try to drive way out of bounds. It might (low confidence) ameliorate this to manually home from the menu each time before starting a job. Definitely watch it closely when starting a print, and be ready to shut it off. | |||
* This printer works great with '''PLA''' filament. It should be '''1.75mm''' diameter. If you find a spool that has both of those on the label, very likely to work. As of 9/2024 there is a small blue spool floating around that definitely works. | * This printer works great with '''PLA''' filament. It should be '''1.75mm''' diameter. If you find a spool that has both of those on the label, very likely to work. As of 9/2024 there is a small blue spool floating around that definitely works. | ||
* Small spools can hang off the clamp stuck on top the right support. 1KG and larger spools feed better from the built-in holder center-top, but you may need to adjust it to the correct width for the spool. The hex key needed to adjust the bracket should be in the "Tools" drawer next to the printer. | * Small spools can hang off the clamp stuck on top the right support. 1KG and larger spools feed better from the built-in holder center-top, but you may need to adjust it to the correct width for the spool. The hex key needed to adjust the bracket should be in the "Tools" drawer next to the printer. | ||
* The stock [https://github.com/prusa3d/PrusaSlicer PrusaSlicer] profiles for the Artillery X1 w/ Generic PLA seem to work pretty well. The Generic PETG profiles '''DO NOT''' work great with this printer; | * The stock [https://github.com/prusa3d/PrusaSlicer PrusaSlicer] profiles for the Artillery X1 w/ Generic PLA seem to work pretty well. The Generic PETG profiles '''DO NOT''' work great with this printer; see below. | ||
===PETG Printing=== | |||
[[File:Artillery-petg-settings.png|thumb]] | |||
The attached screenshot shows some overrides for PETG printing. | |||
The problems these are trying to solve are: | |||
* Poor bed adhesion -- this is solved by the higher bed and first layer nozzle temps. | |||
* Warping of long parts -- this is mostly solved by the high bed temp and disabling the fan; things cool slower and warp less. | |||
* Stringy ooze everywhere -- this is vastly improved by the travel ramping mode, except in specific print areas where it's ineffective. Note that lower angles seemed to cause problems with colliding/dragging the print. Increasing the default retraction length did not help. Decreasing the non-first layer nozzle temp back to default or below might help. | |||
==Documentation== | ==Documentation== | ||
| Line 21: | Line 33: | ||
==Maintenance Log== | ==Maintenance Log== | ||
'''2025''' | |||
;July 12 | |||
Problem with one of the axes not moving. CC ordered new motor driver, and someone ordered a new ribbon cable according to note on printer. | |||
;April 10th (Kirk S) | |||
Installed new 0.4 mm brass nozzle | |||
'''2024''' | '''2024''' | ||
;Sep 14th (Chris W) | |||
The printer went crazy while homing and made a big gouge in the bed. After rebooting, I did a very quick relevel and a few minutes of test printing, which seemed to go fine; but didn't have time for a thorough checkout. Recommend doing a careful leveling and test print before any big jobs. | |||
;Sep 9th (Chris W) | |||
Releveled the bed with things hot; first layers look even neater now, except out in the very corners, past the leveling zones; those seem to slope up a bit, so the first layer gets really thin out there. | |||
;Sep 3rd (Chris W) | ;Sep 3rd (Chris W) | ||
Latest revision as of 20:32, 15 January 2026
Status
The printer is not working (July 12th 2025) -- see log below.
Printing Tips
- Occasionally (twice in ~20 jobs) this printer will go nuts while homing at the beginning of a print, and try to drive way out of bounds. It might (low confidence) ameliorate this to manually home from the menu each time before starting a job. Definitely watch it closely when starting a print, and be ready to shut it off.
- This printer works great with PLA filament. It should be 1.75mm diameter. If you find a spool that has both of those on the label, very likely to work. As of 9/2024 there is a small blue spool floating around that definitely works.
- Small spools can hang off the clamp stuck on top the right support. 1KG and larger spools feed better from the built-in holder center-top, but you may need to adjust it to the correct width for the spool. The hex key needed to adjust the bracket should be in the "Tools" drawer next to the printer.
- The stock PrusaSlicer profiles for the Artillery X1 w/ Generic PLA seem to work pretty well. The Generic PETG profiles DO NOT work great with this printer; see below.
PETG Printing
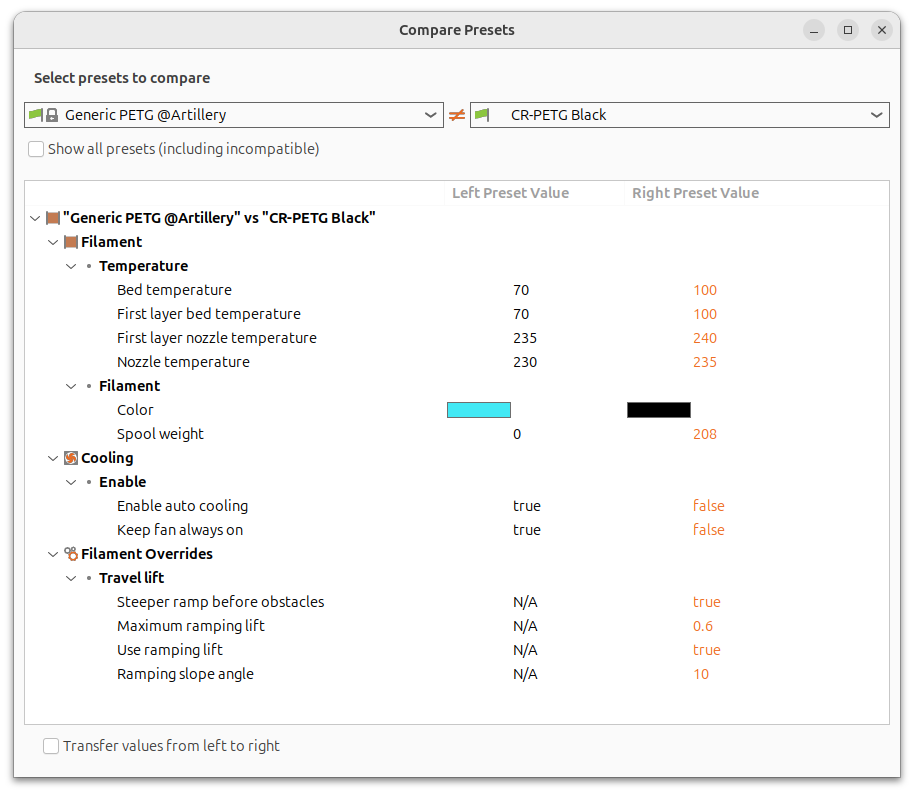
The attached screenshot shows some overrides for PETG printing.
The problems these are trying to solve are:
- Poor bed adhesion -- this is solved by the higher bed and first layer nozzle temps.
- Warping of long parts -- this is mostly solved by the high bed temp and disabling the fan; things cool slower and warp less.
- Stringy ooze everywhere -- this is vastly improved by the travel ramping mode, except in specific print areas where it's ineffective. Note that lower angles seemed to cause problems with colliding/dragging the print. Increasing the default retraction length did not help. Decreasing the non-first layer nozzle temp back to default or below might help.
Documentation
- X2 Manual -- note this may be an X1 not an X2. Couldn't find a currently working link to X1 manual.
- Bed leveling procedure
- Leveling with the bed at print temperature will be more accurate; heating the extruder may help too, but not to full print temp because then it will drool and stick to the paper. BE CAREFUL, these things get very hot!
- You can test the leveling with this file: File:Bed level.stl.
- That's generated using this parametric design.
Maintenance Log
2025
- July 12
Problem with one of the axes not moving. CC ordered new motor driver, and someone ordered a new ribbon cable according to note on printer.
- April 10th (Kirk S)
Installed new 0.4 mm brass nozzle
2024
- Sep 14th (Chris W)
The printer went crazy while homing and made a big gouge in the bed. After rebooting, I did a very quick relevel and a few minutes of test printing, which seemed to go fine; but didn't have time for a thorough checkout. Recommend doing a careful leveling and test print before any big jobs.
- Sep 9th (Chris W)
Releveled the bed with things hot; first layers look even neater now, except out in the very corners, past the leveling zones; those seem to slope up a bit, so the first layer gets really thin out there.
- Sep 3rd (Chris W)
Did a bed leveling and getting MUCH better first-layer adhesion now. Results are still a little weird on my actual prints in the front-right corner, IDK what's up with that but problem seems mostly cosmetic now.
- Sep 1st (Chris W)
Had a print come loose from the bed several layers in, made a big mess and got some crap wrapped around the X axis driver. Once I got it cleaned out, it was clear it had screwed up the belt tension. I was able to retension the belt and it seems file now, though; a printed square peg still fits into a square hole both ways with the same tolerance as before. But if there are future X-calibration issues, might be the belt is damaged and needs replacing. I left the allen wrench I found for the tension adjustment in the tool drawer.
2023
Jake bought a new nozzle kit for it and it's been installed by Tim and is working great.
the new nozzle kit was https://www.ebay.com/itm/385701967616 "3D Printer Hotend Silicone Sleeve Repair Kit for Artillery Sidewinder X1" $12.99 from bargainsofmaine (51,200) 99.9%

