Difference between revisions of "3DPrinting"
| Line 31: | Line 31: | ||
Lay the allen wrench flat on one corner of the plate. | Lay the allen wrench flat on one corner of the plate. | ||
With the machine off, drag the printer head over the long part of the wrench. The head should just barely flip the wrench up. | With the machine off, drag the printer head over the long part of the wrench. The head should just barely flip the wrench up. Adjust the height of the corner with the thumbwheels. Make sure the plate ends up tight between the wheels. | ||
Repeat for the other three corners. | Repeat for the other three corners. | ||
Revision as of 18:34, 11 May 2013
Hardware
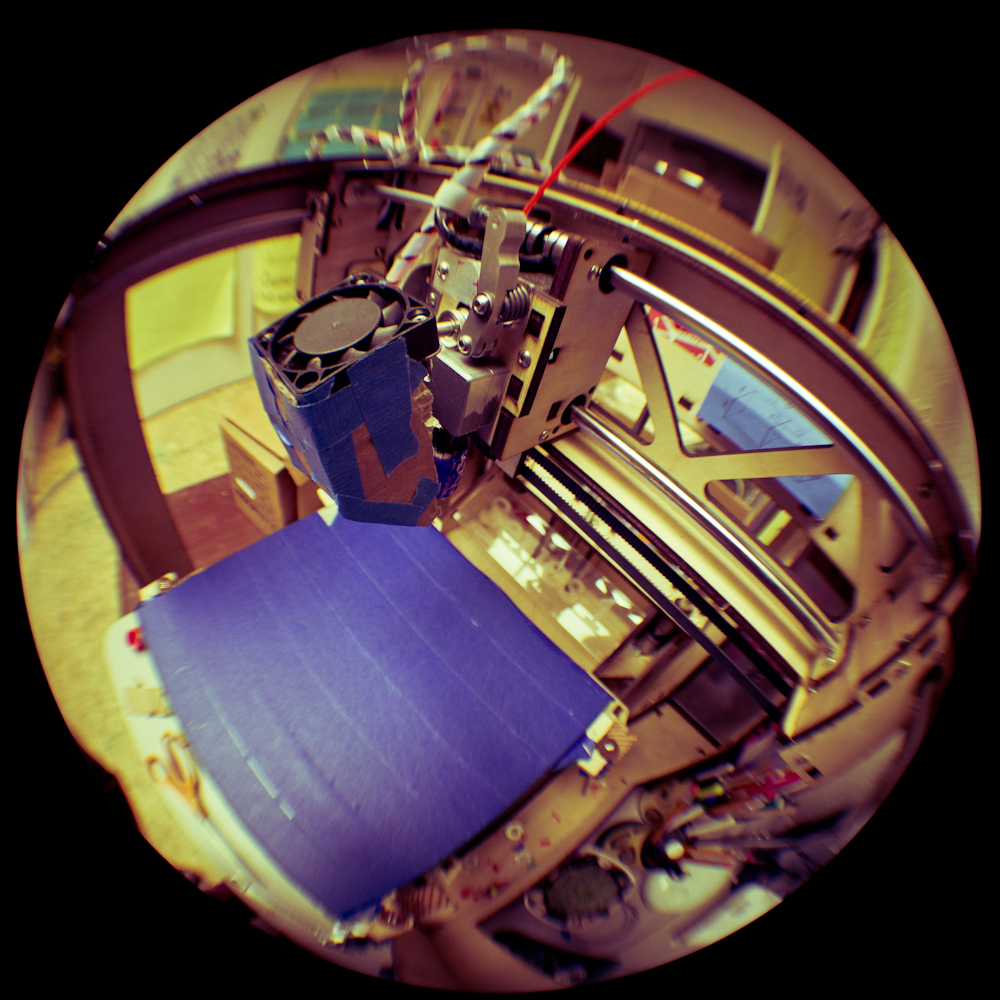
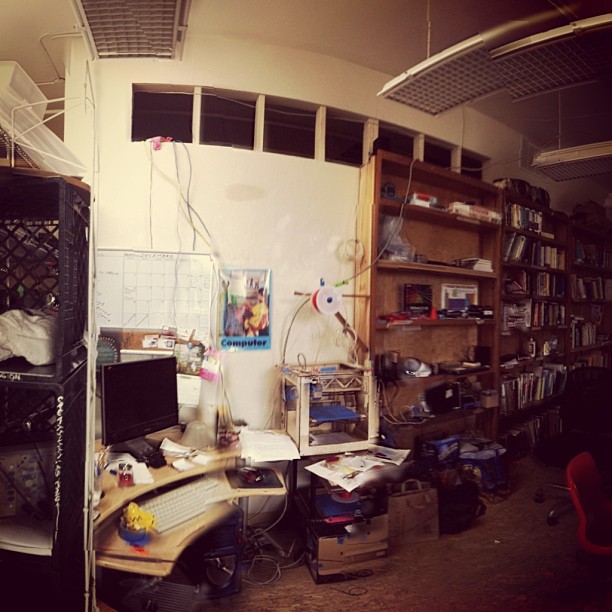
We currently have the following 3D printers:
Documentation
We currently don't have great documentation right now that covers turning on a printer, connecting it to the computer, calibration, and setting it up. We are working on that.
Overview
Quick and dirty overview
- Turn on the 3D Printer (switch is on the back right side)
- Make sure the 3D Printer is connected by USB to the desktop
- Start the program Repetier-Host http://www.repetier.com/documentation/repetier-host/
- Calibrate the printer
- Load your STL file (model of the 3D Printout)
- Slice the STL file into G-Code
- Post-Print - remove from the 3D printer bed with a razor
Leveling the print plate
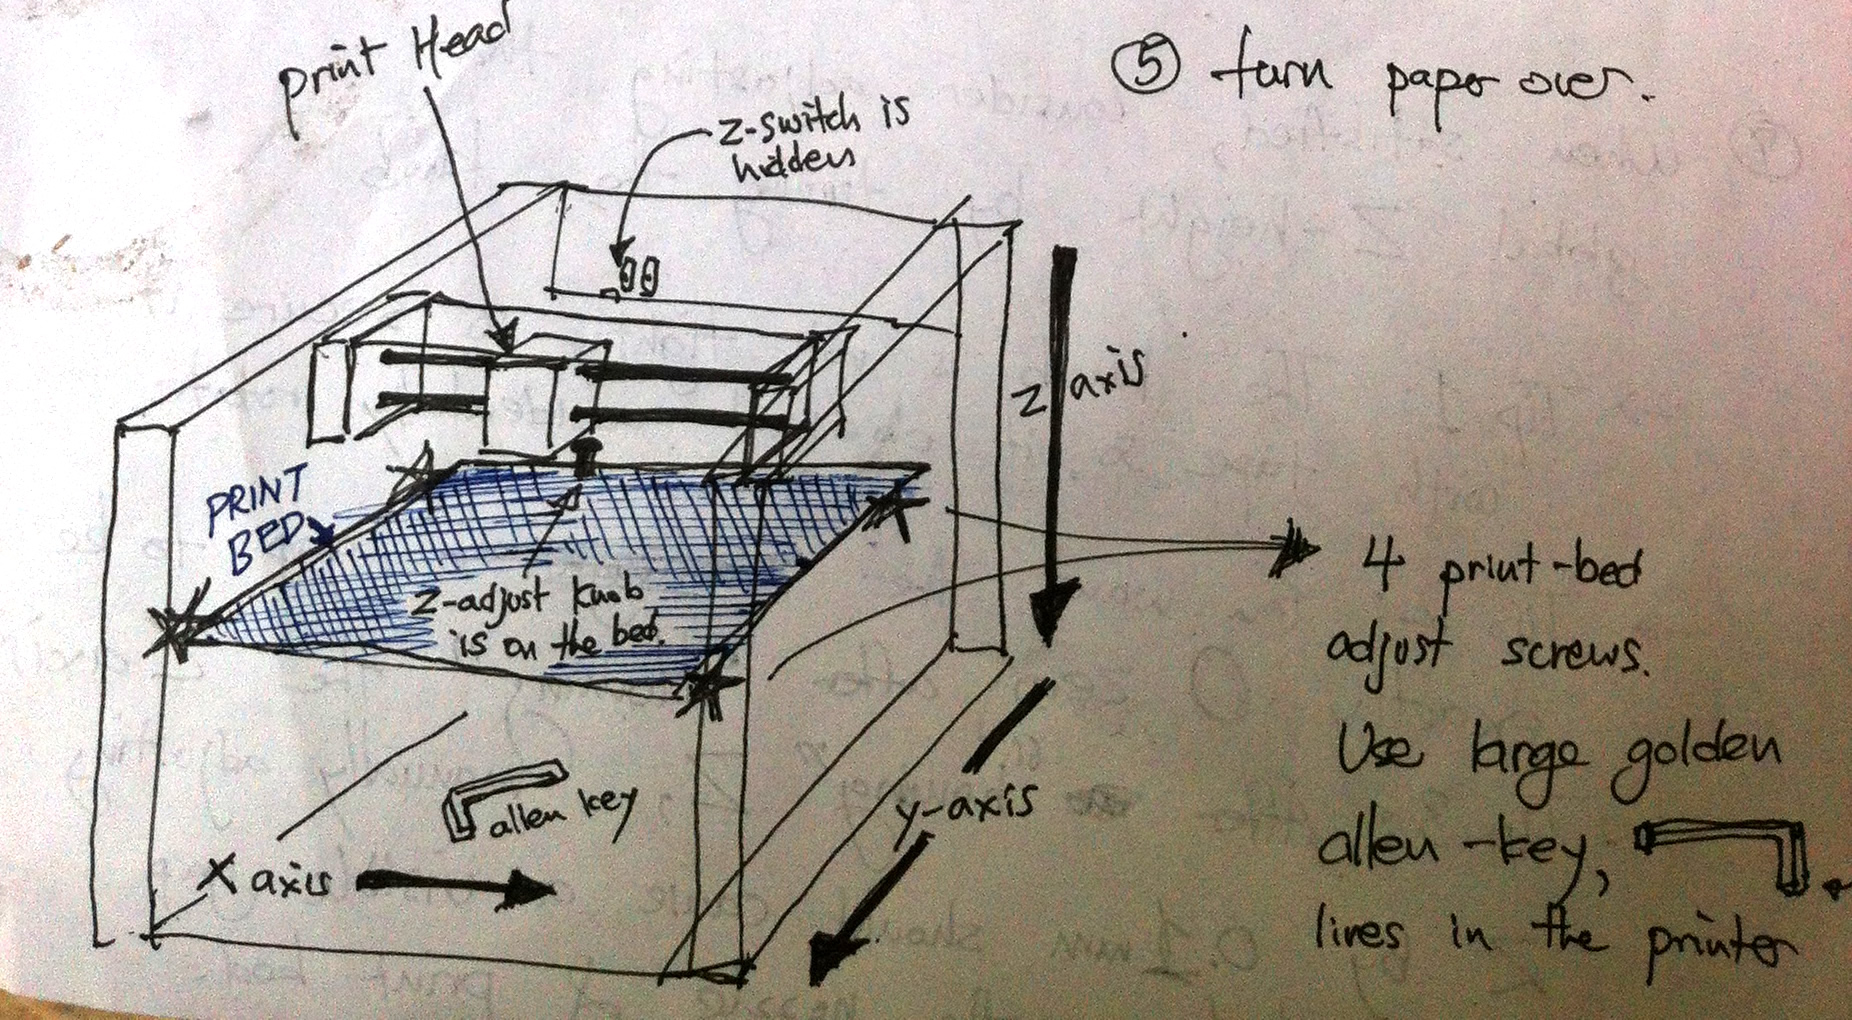
To level the print plate using an allen wrench as a guide:
Lay the allen wrench flat on one corner of the plate.
With the machine off, drag the printer head over the long part of the wrench. The head should just barely flip the wrench up. Adjust the height of the corner with the thumbwheels. Make sure the plate ends up tight between the wheels.
Repeat for the other three corners.
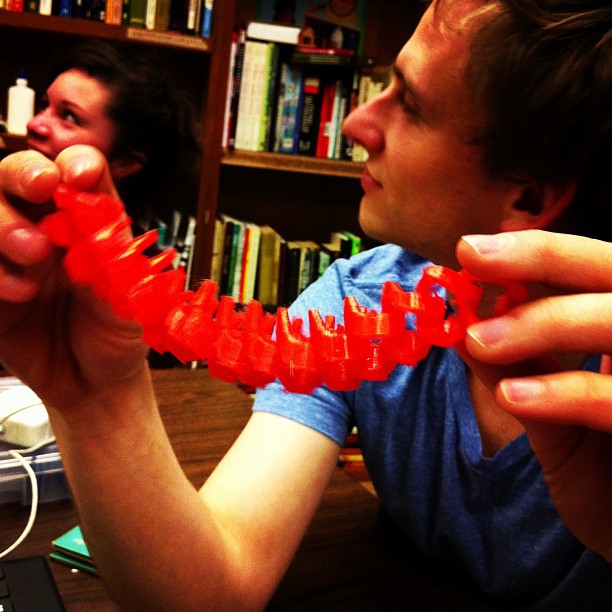
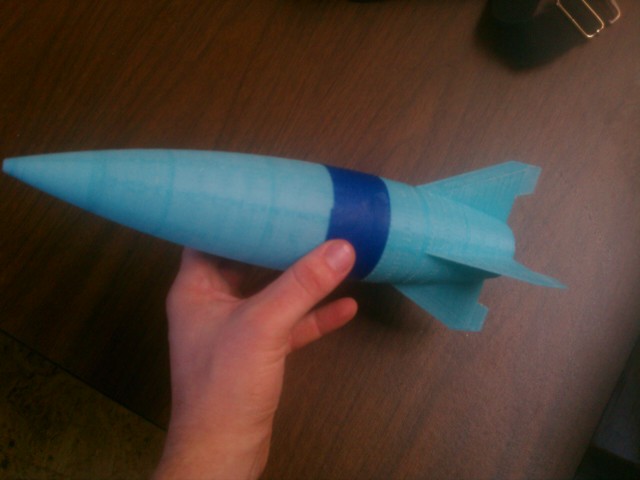
Gallery of Creations
Older Documentation
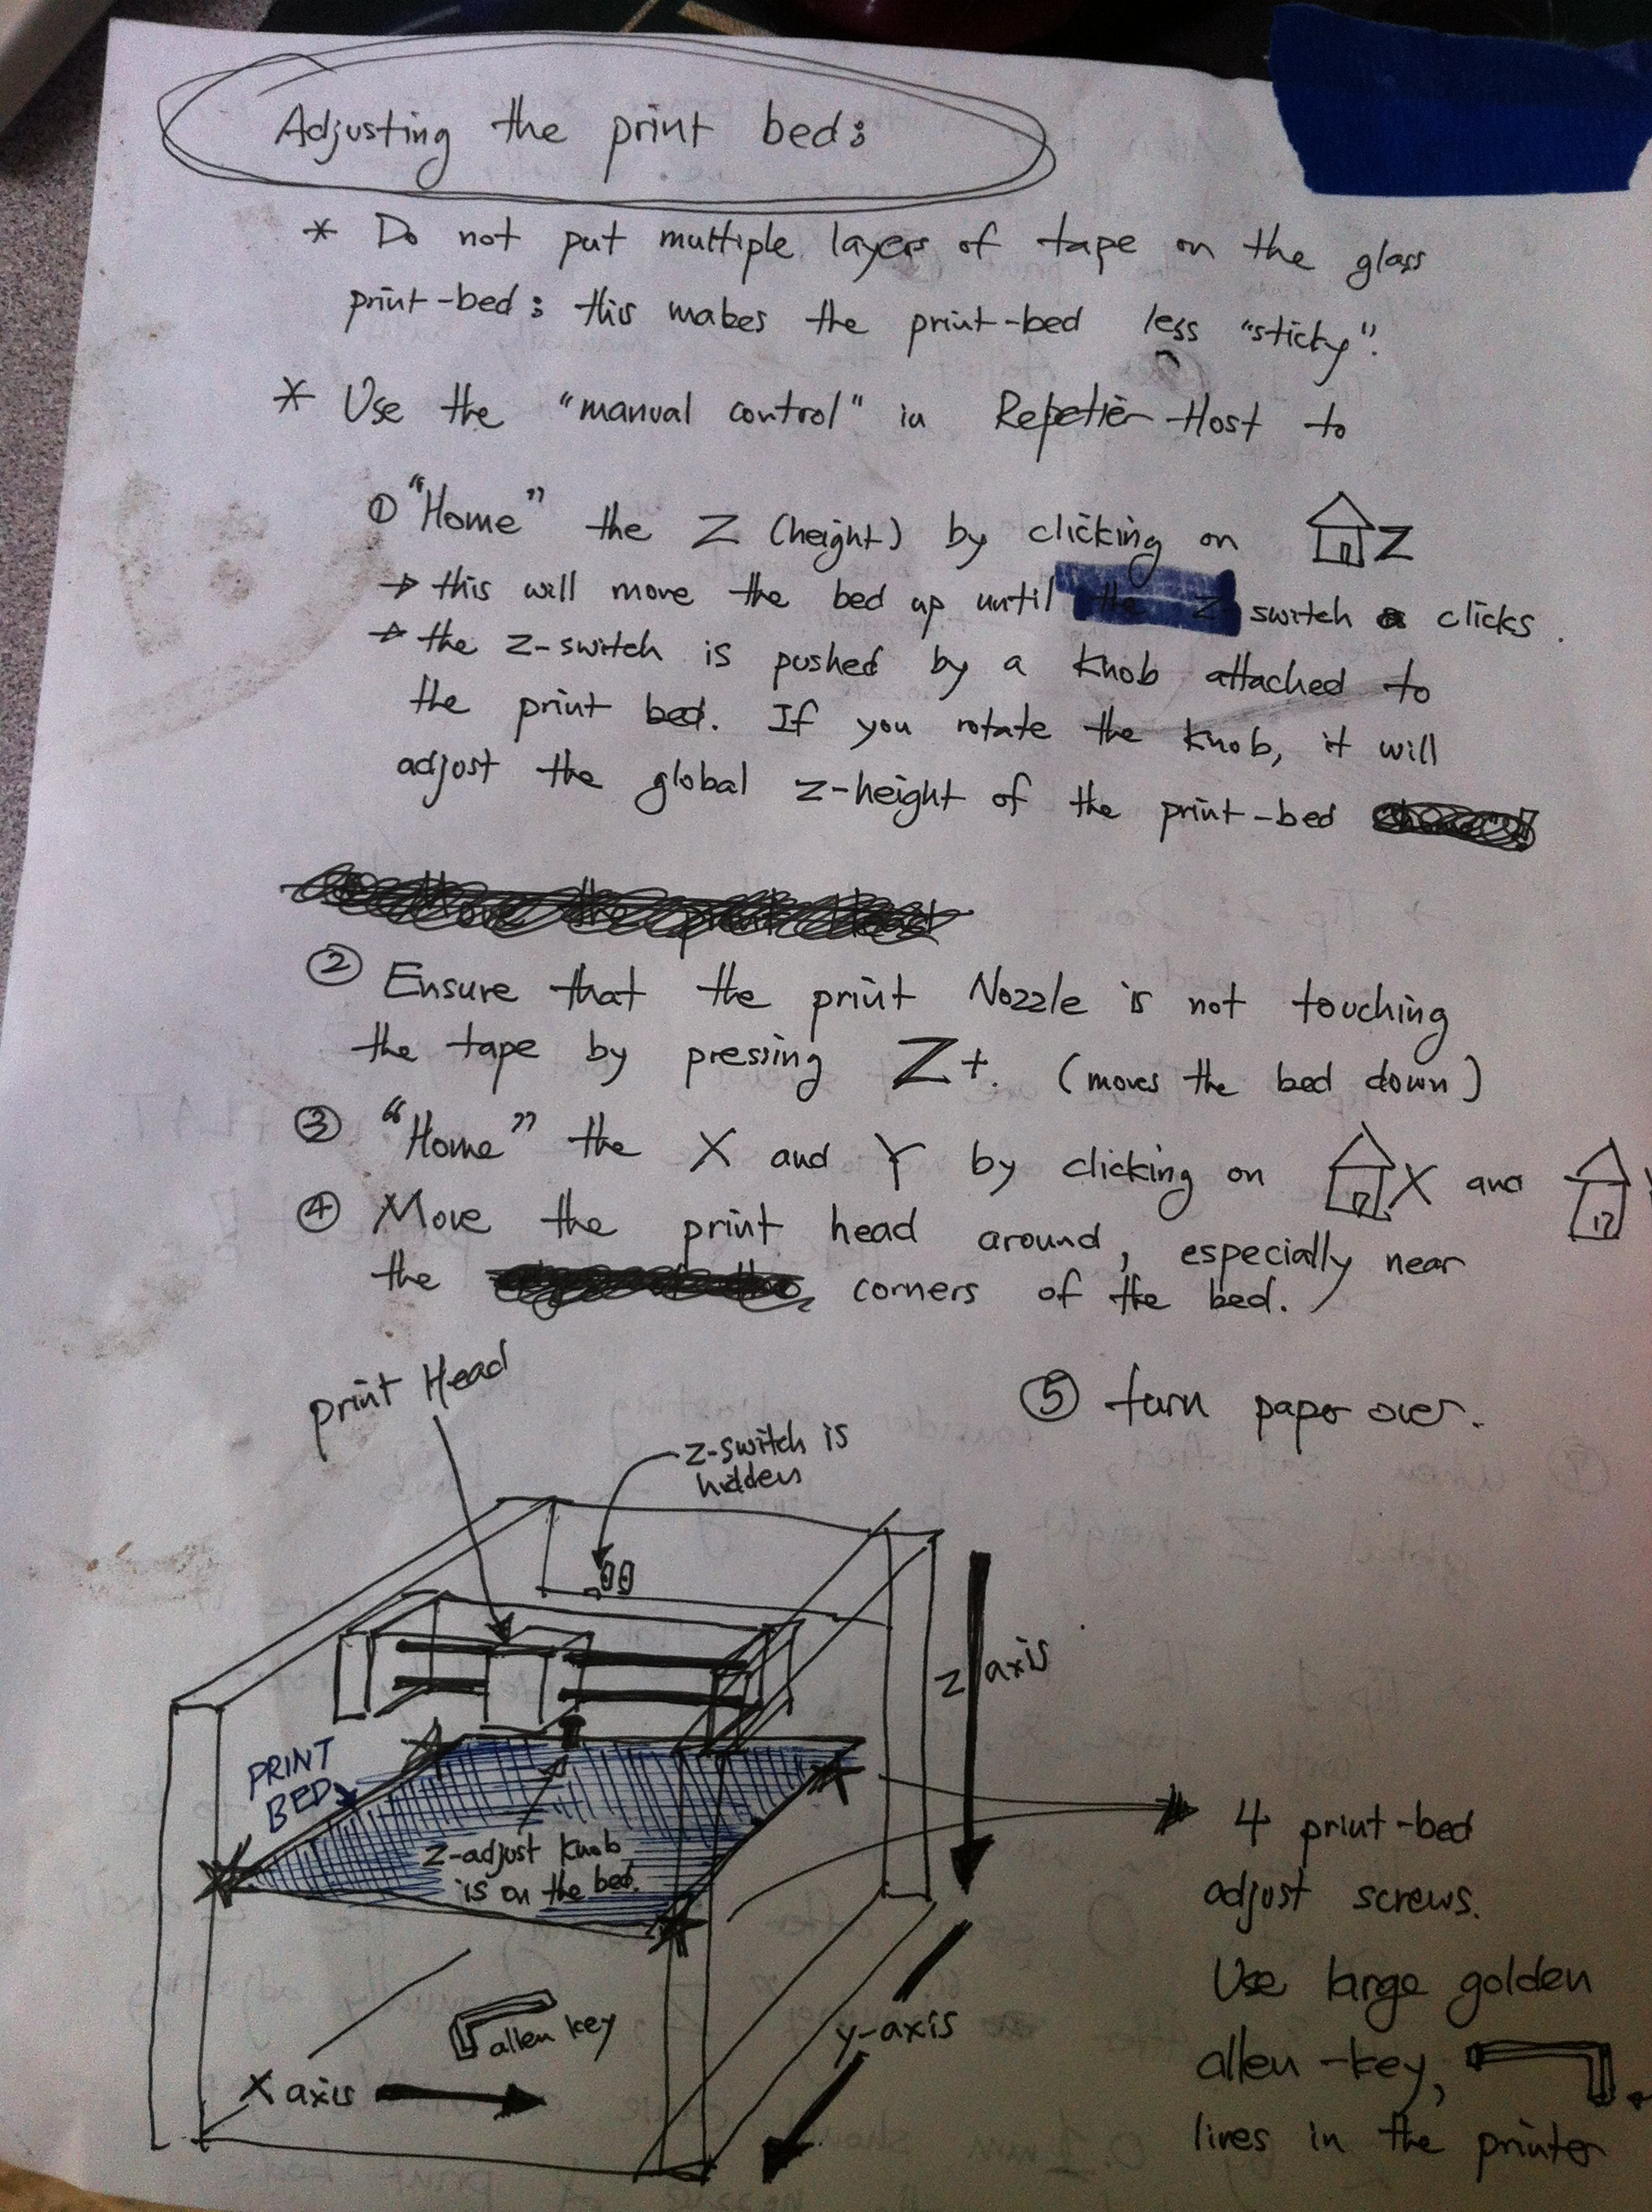
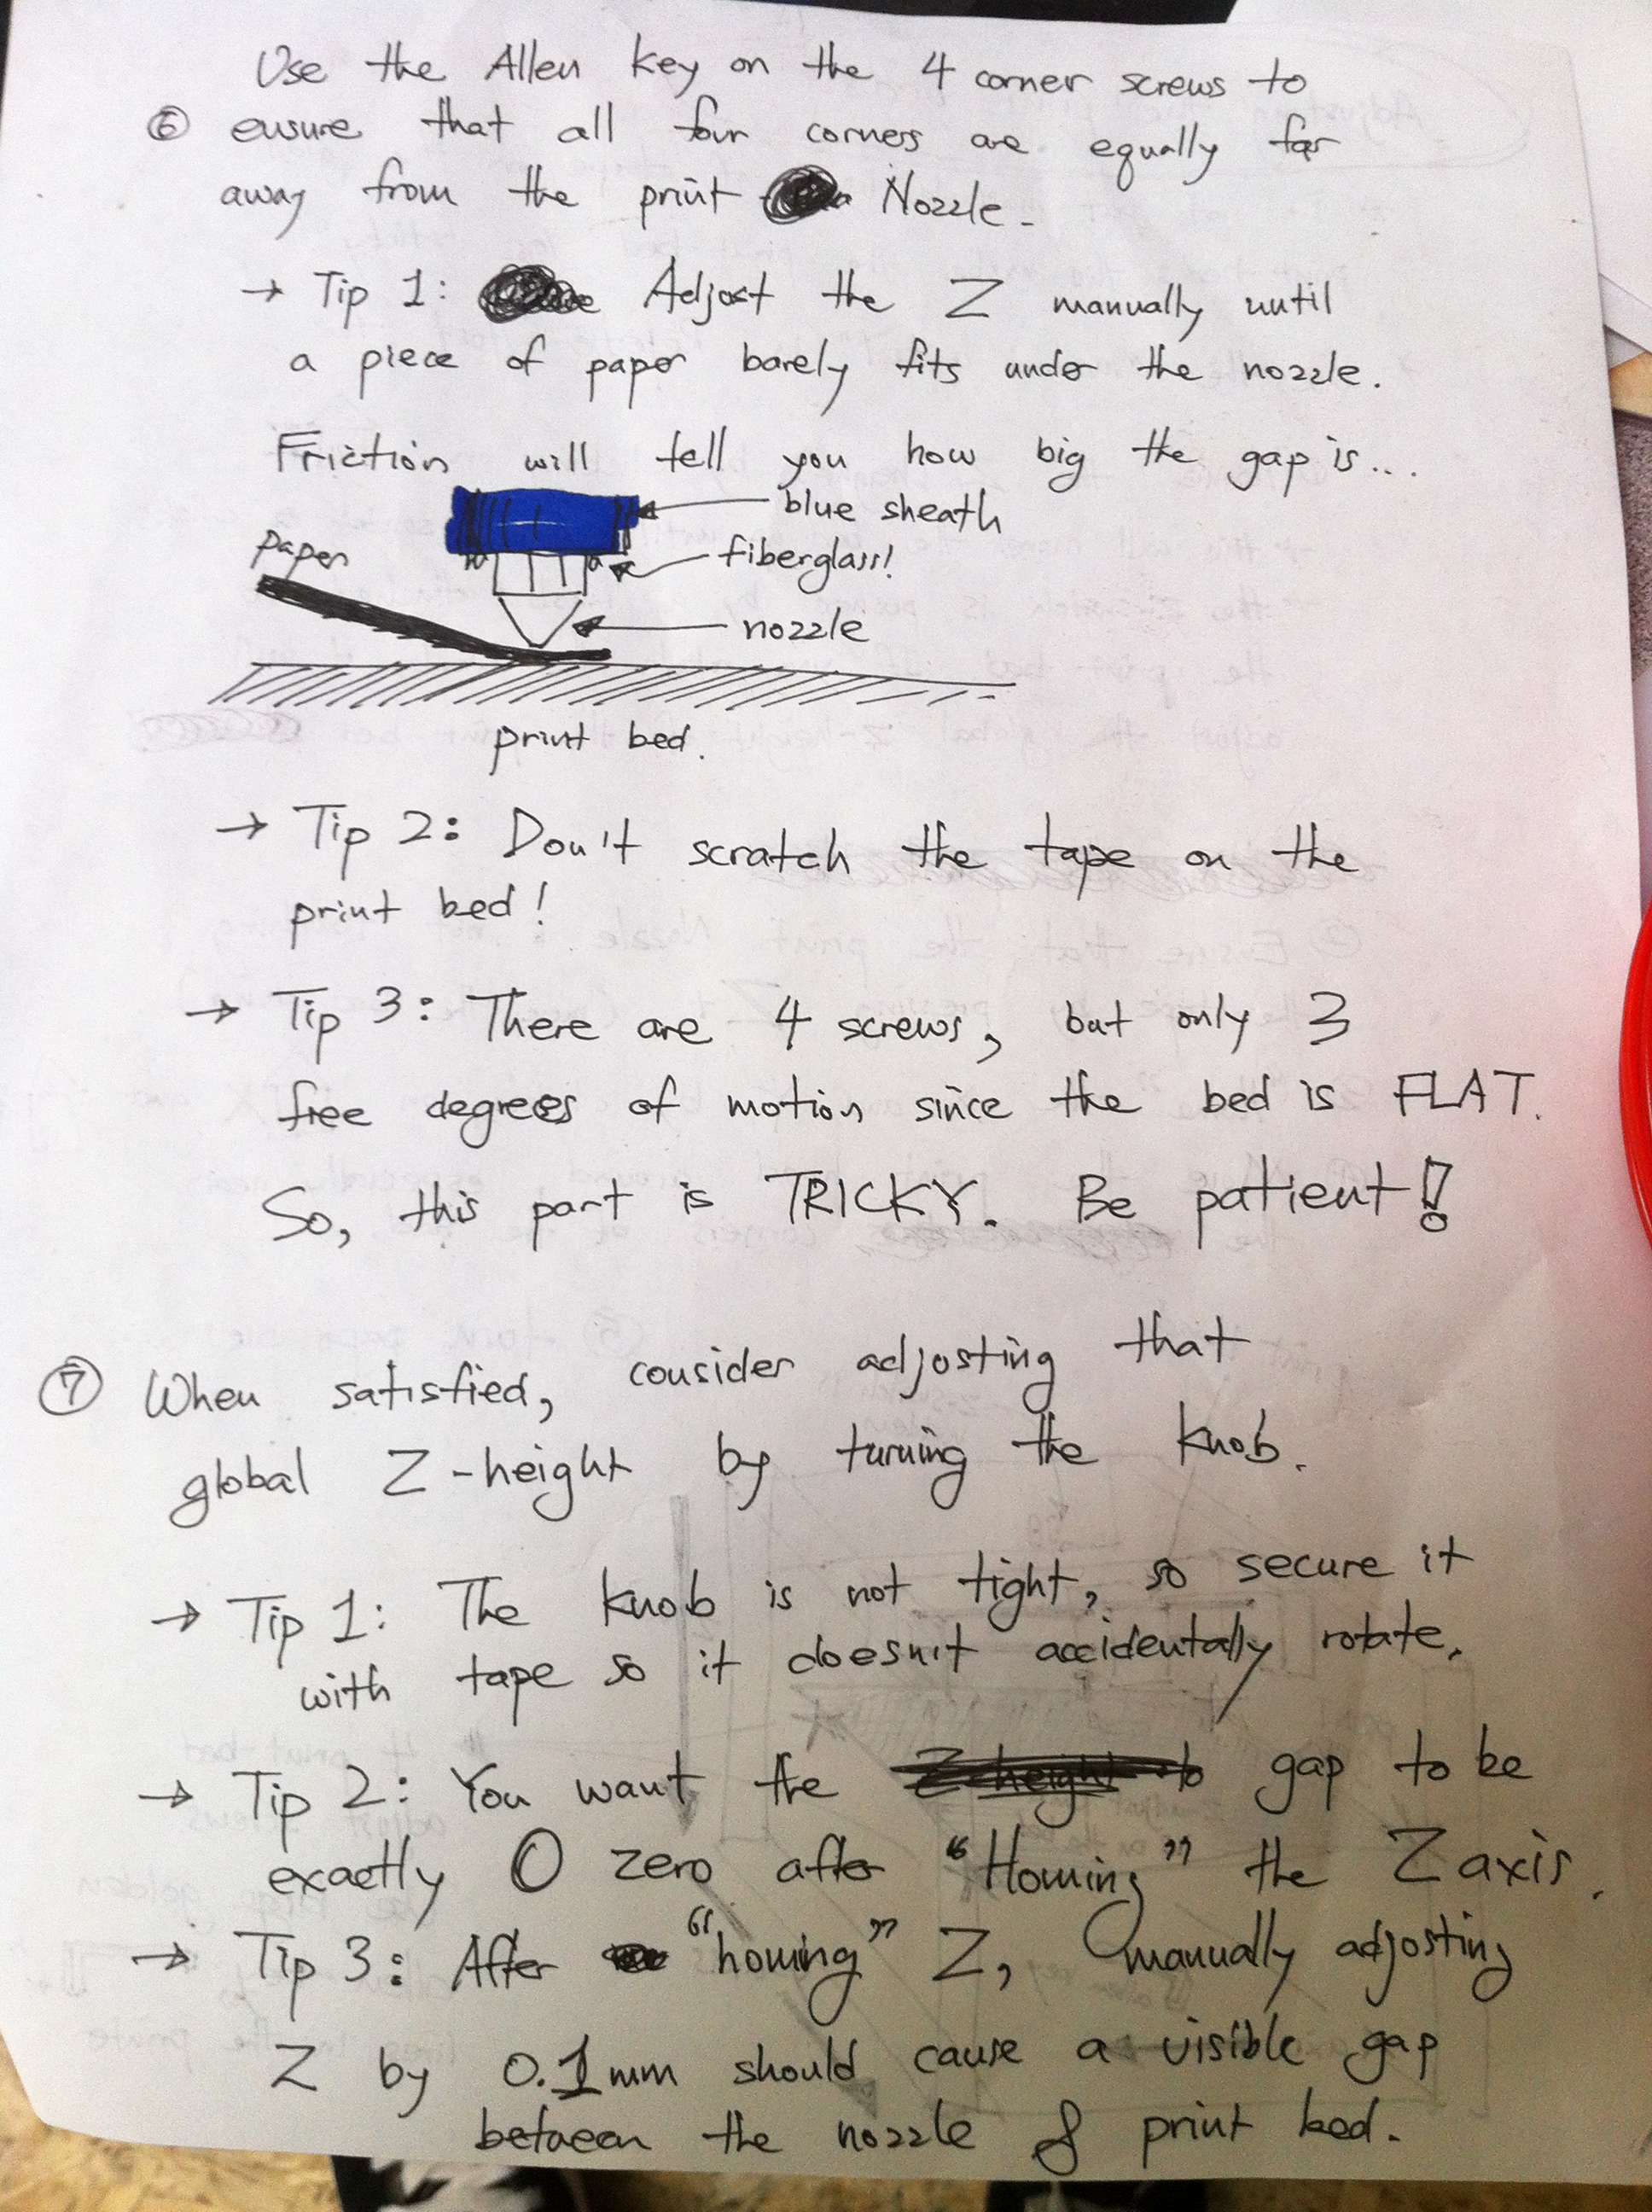
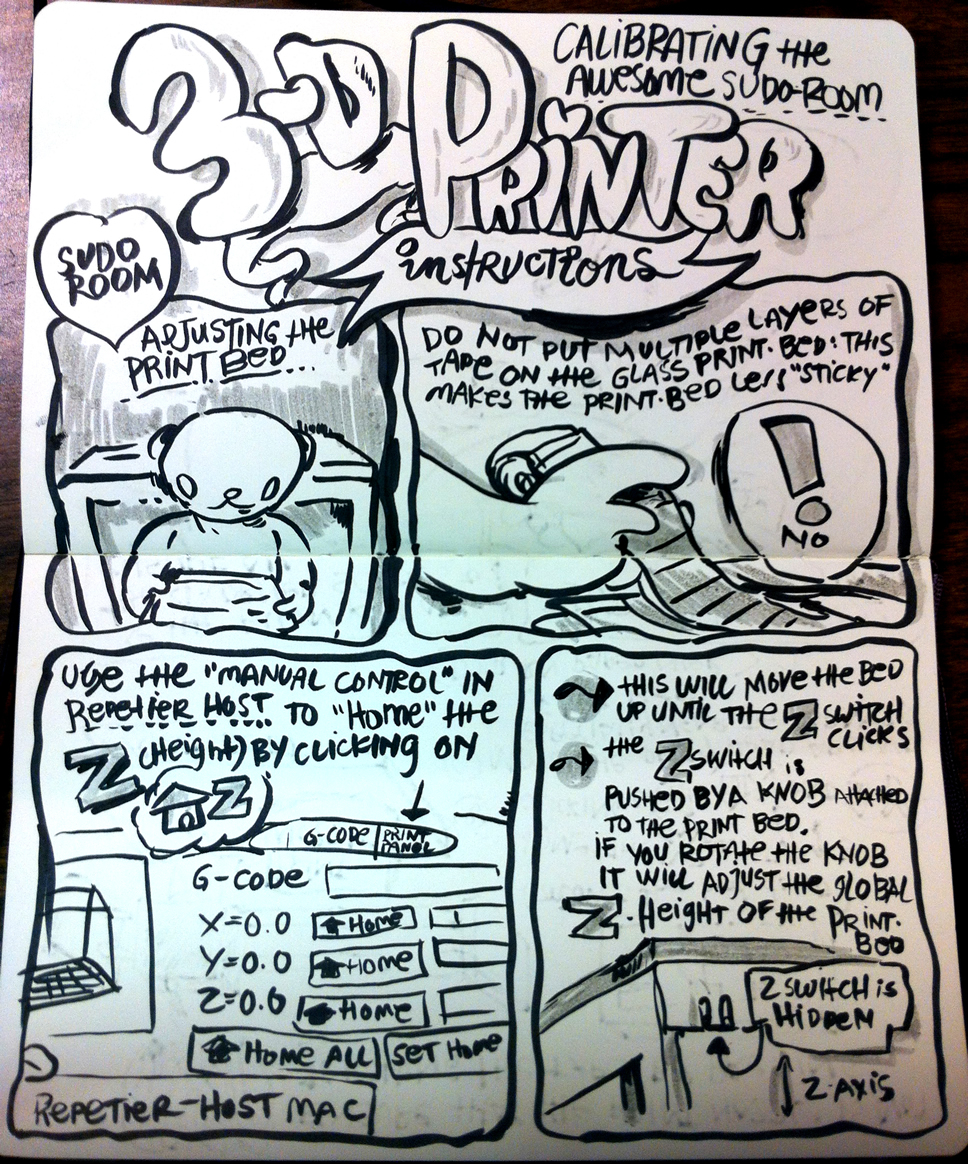
Printer Calibration
Background: Original handwritten piece by Jae. This was the primary documentation for most of the early SudoRoom days and was writen down on a piece of paper. It's quite excellent.
