Difference between revisions of "3DPrinting"
| Line 3: | Line 3: | ||
==3D Printer Diary== | ==3D Printer Diary== | ||
Our 3D Printer is growing up. It is keeping its own "Dear Diary wiki page" | Our 3D Printer is growing up... it is a young male brony coming of age. It is keeping its own "Dear Diary wiki page", please help the 3D printer jot down its thoughts. | ||
This is a learning exercise, a performance piece, and a form of documentation of collective knowledge. | This is a learning exercise, a performance piece, and a form of documentation of collective knowledge. | ||
| Line 11: | Line 12: | ||
* Talk about which parts went boo boo | * Talk about which parts went boo boo | ||
* Ask your sudoroom family to bring you more blue tape for the printer bed or other things | * Ask your sudoroom family to bring you more blue tape for the printer bed or other things | ||
==Hardware== | ==Hardware== | ||
Revision as of 19:52, 2 June 2013
3D Printer Diary
Our 3D Printer is growing up... it is a young male brony coming of age. It is keeping its own "Dear Diary wiki page", please help the 3D printer jot down its thoughts.
This is a learning exercise, a performance piece, and a form of documentation of collective knowledge.
- Log your mistakes in printing so that others can learn from them
- Talk about which parts went boo boo
- Ask your sudoroom family to bring you more blue tape for the printer bed or other things
Hardware
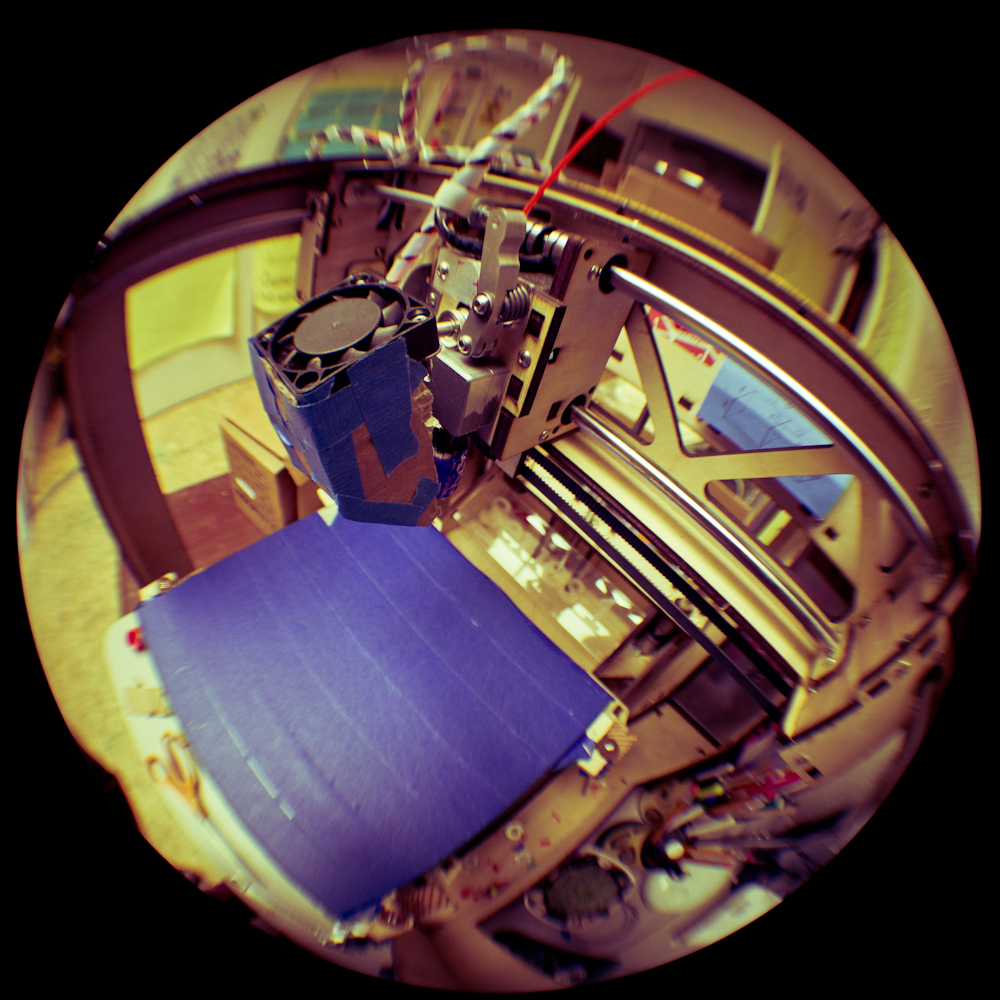
We currently have the following 3D printers:
Files
- smb://space/sudoroom public data/Projects/3DPrinting - Preferred place to store files
- Github: https://github.com/sudoroom/ComicsArtSudoRoom - same as Gittorious
- Gittorious - same as github https://gitorious.org/sudoroom-art-projects
Documentation
We currently don't have great documentation right now that covers turning on a printer, connecting it to the computer, calibration, and setting it up. We are working on that.
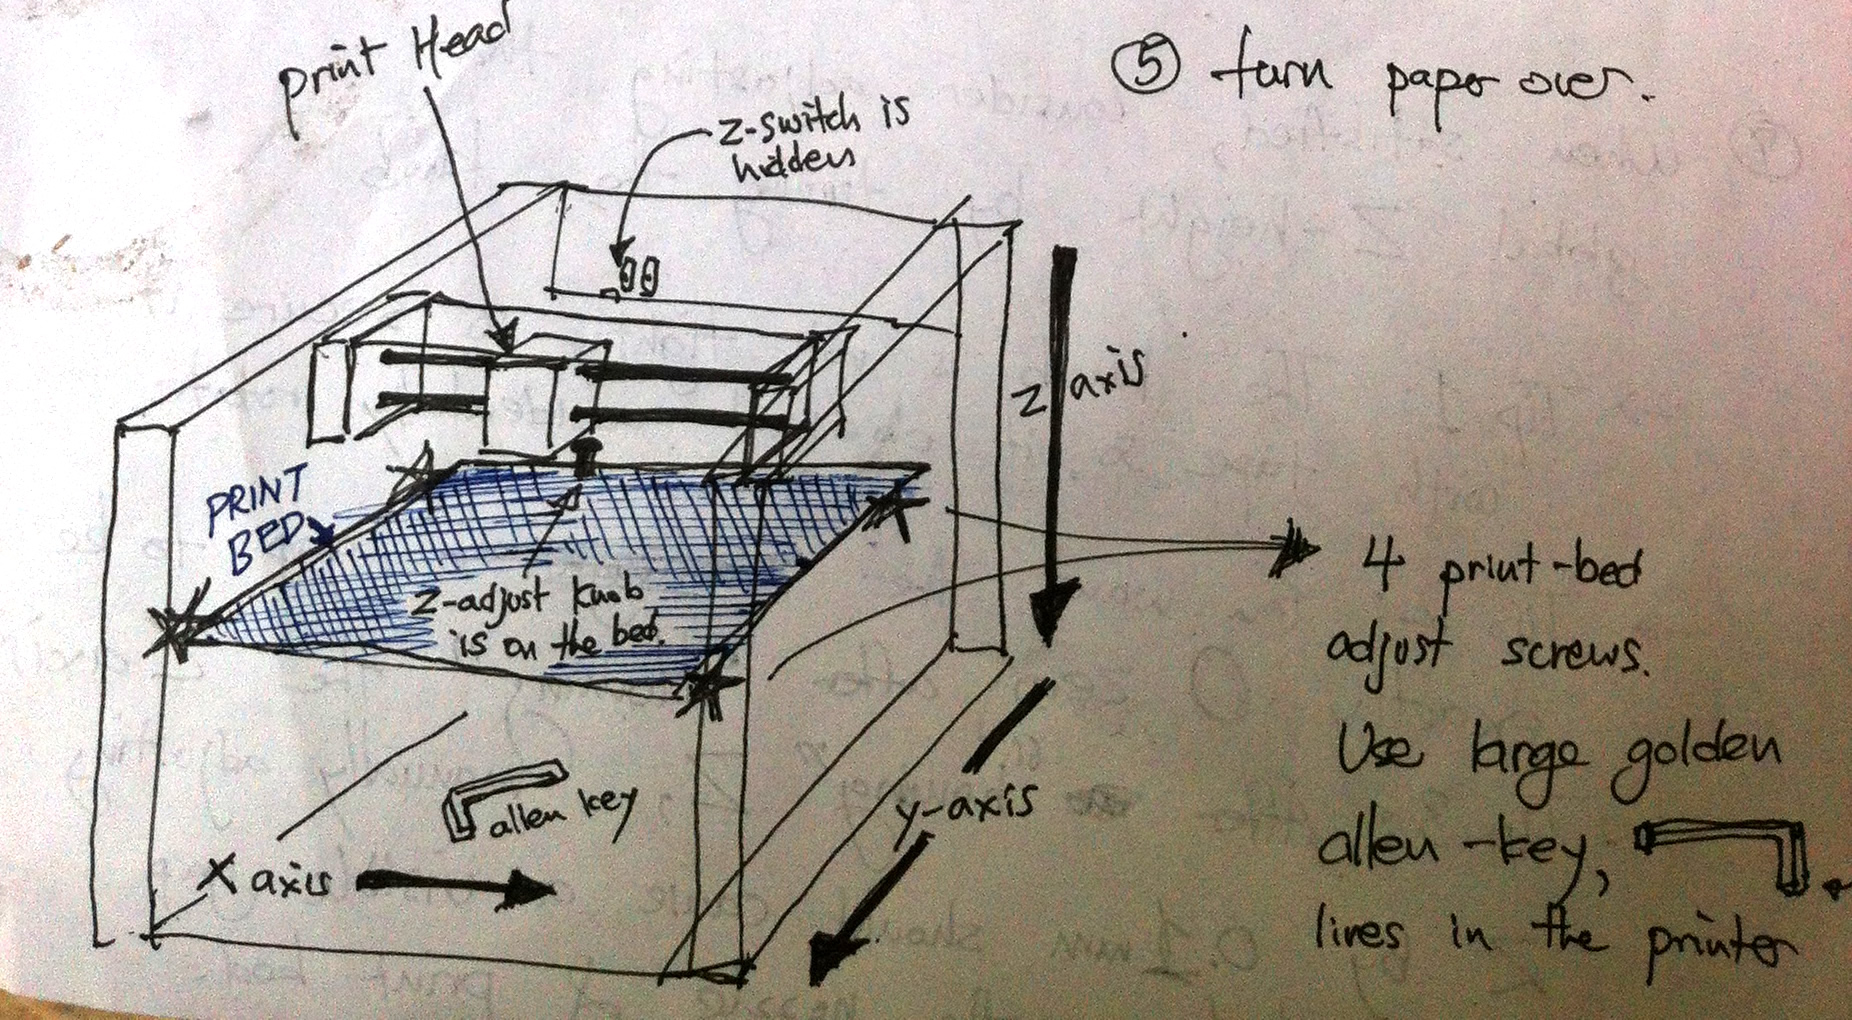
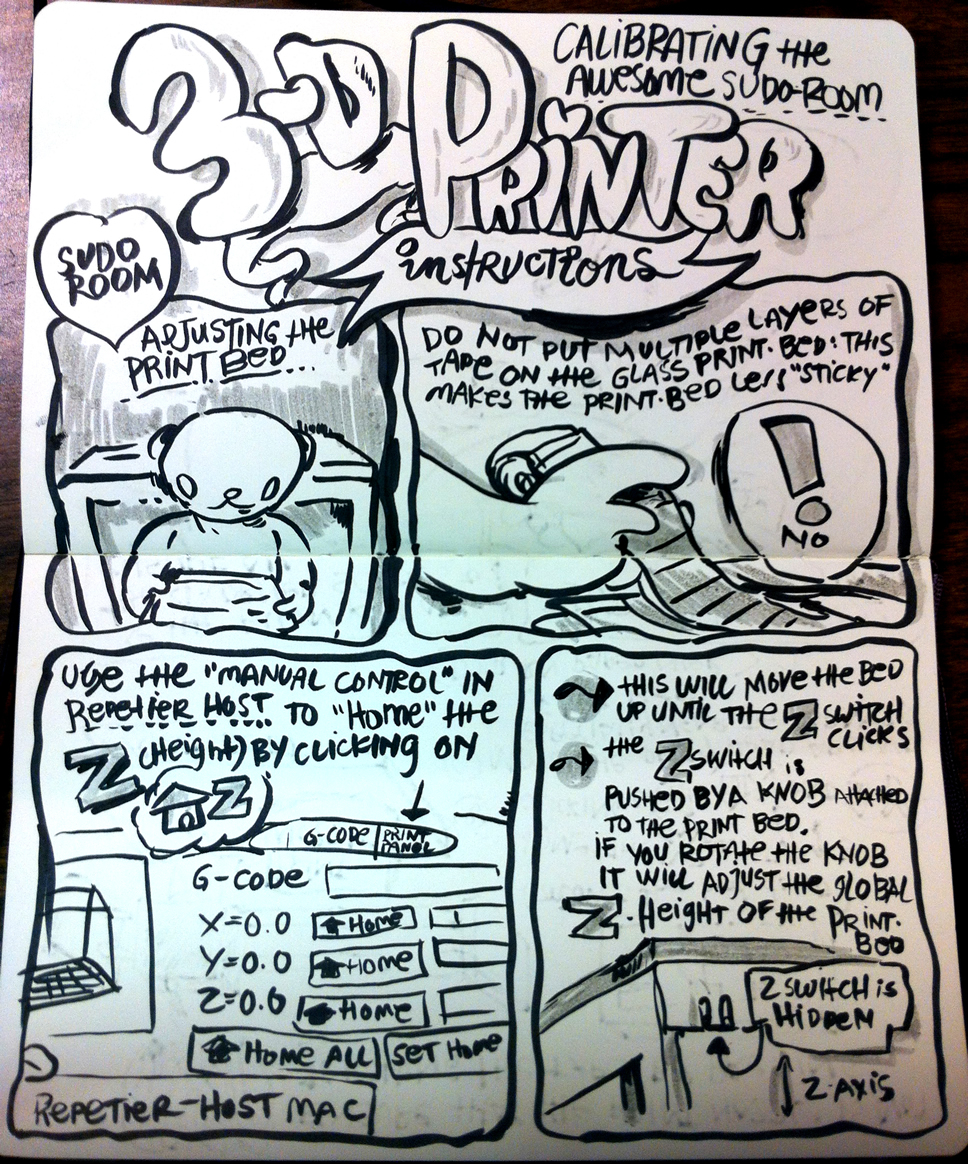
The current documentation / comic on the printer bed calibration is also out of date, since we have a new printer bed.
Overview
Quick and dirty overview
- Turn on the 3D Printer (switch is on the back right side)
- Make sure the 3D Printer is connected by USB to the desktop
- Start the program Repetier-Host http://www.repetier.com/documentation/repetier-host/
- Calibrate the printer
- Load your STL file (model of the 3D Printout)
- Slice the STL file into G-Code
- Post-Print - remove from the 3D printer bed with a razor
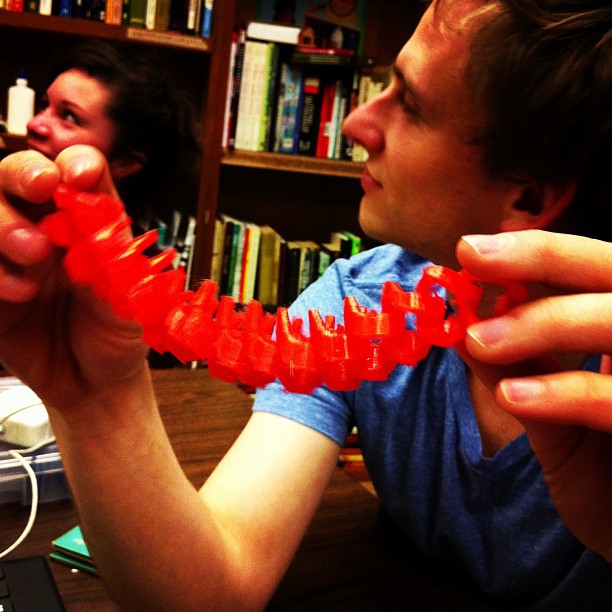
Gallery of Creations
Older Documentation
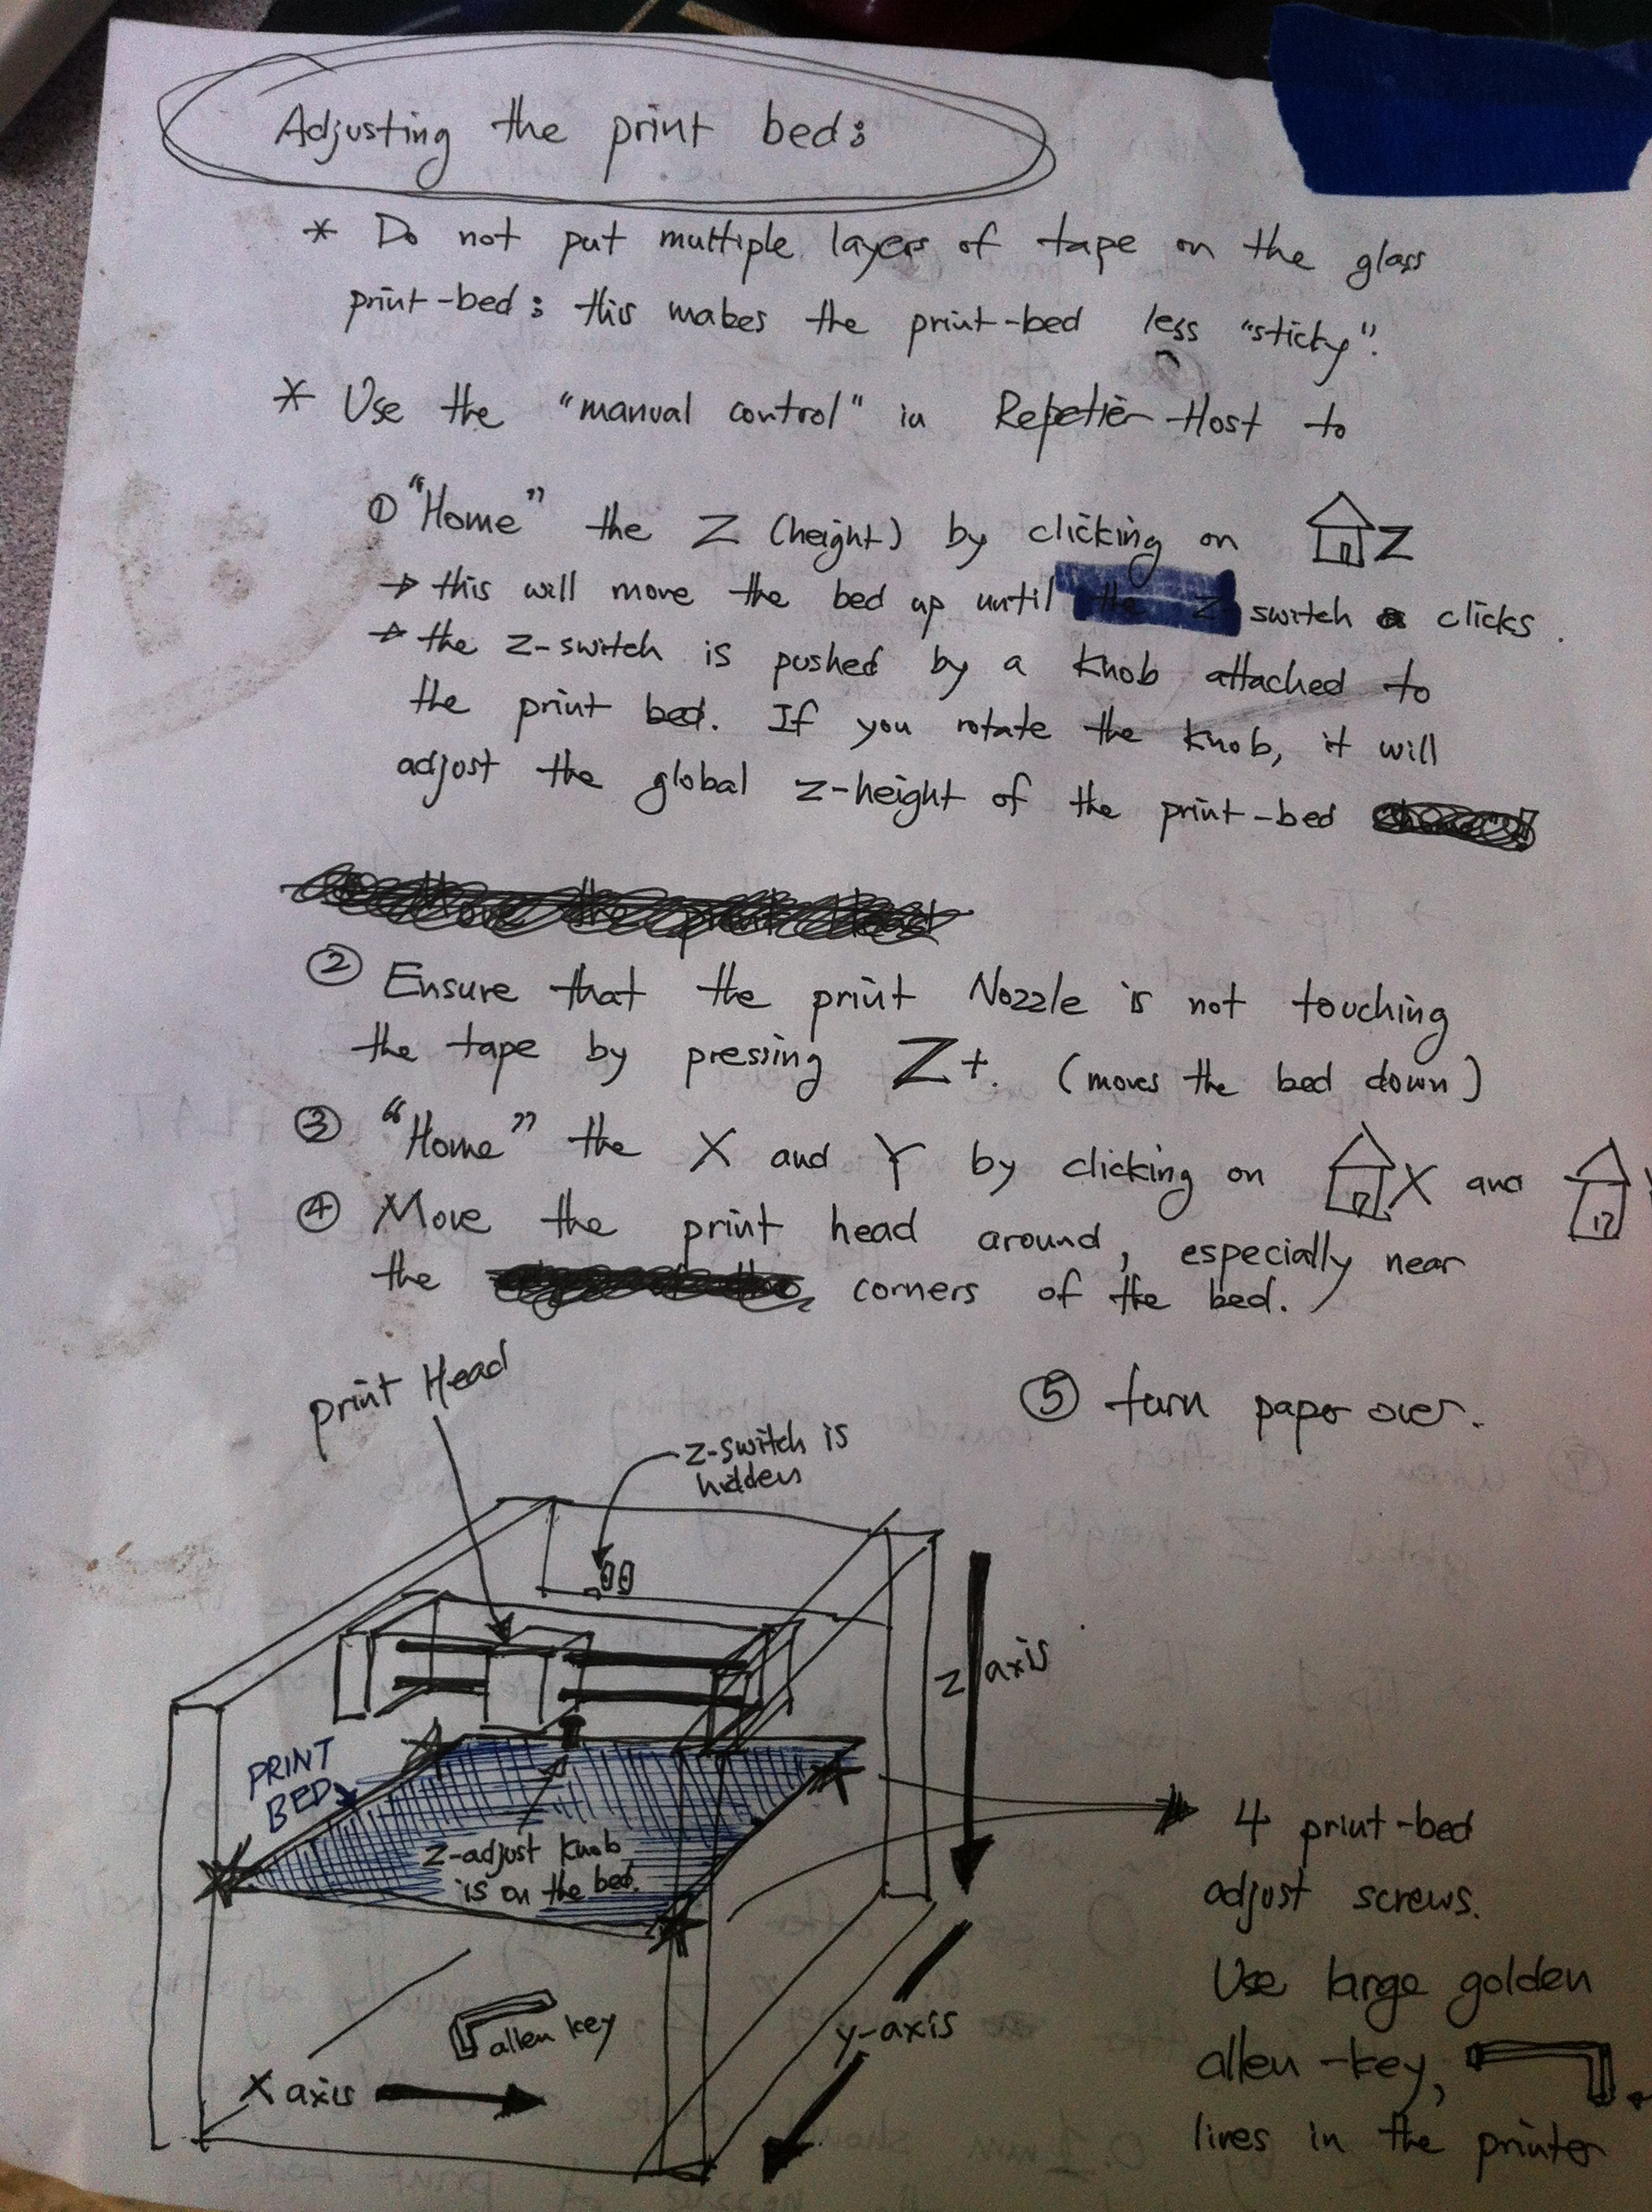
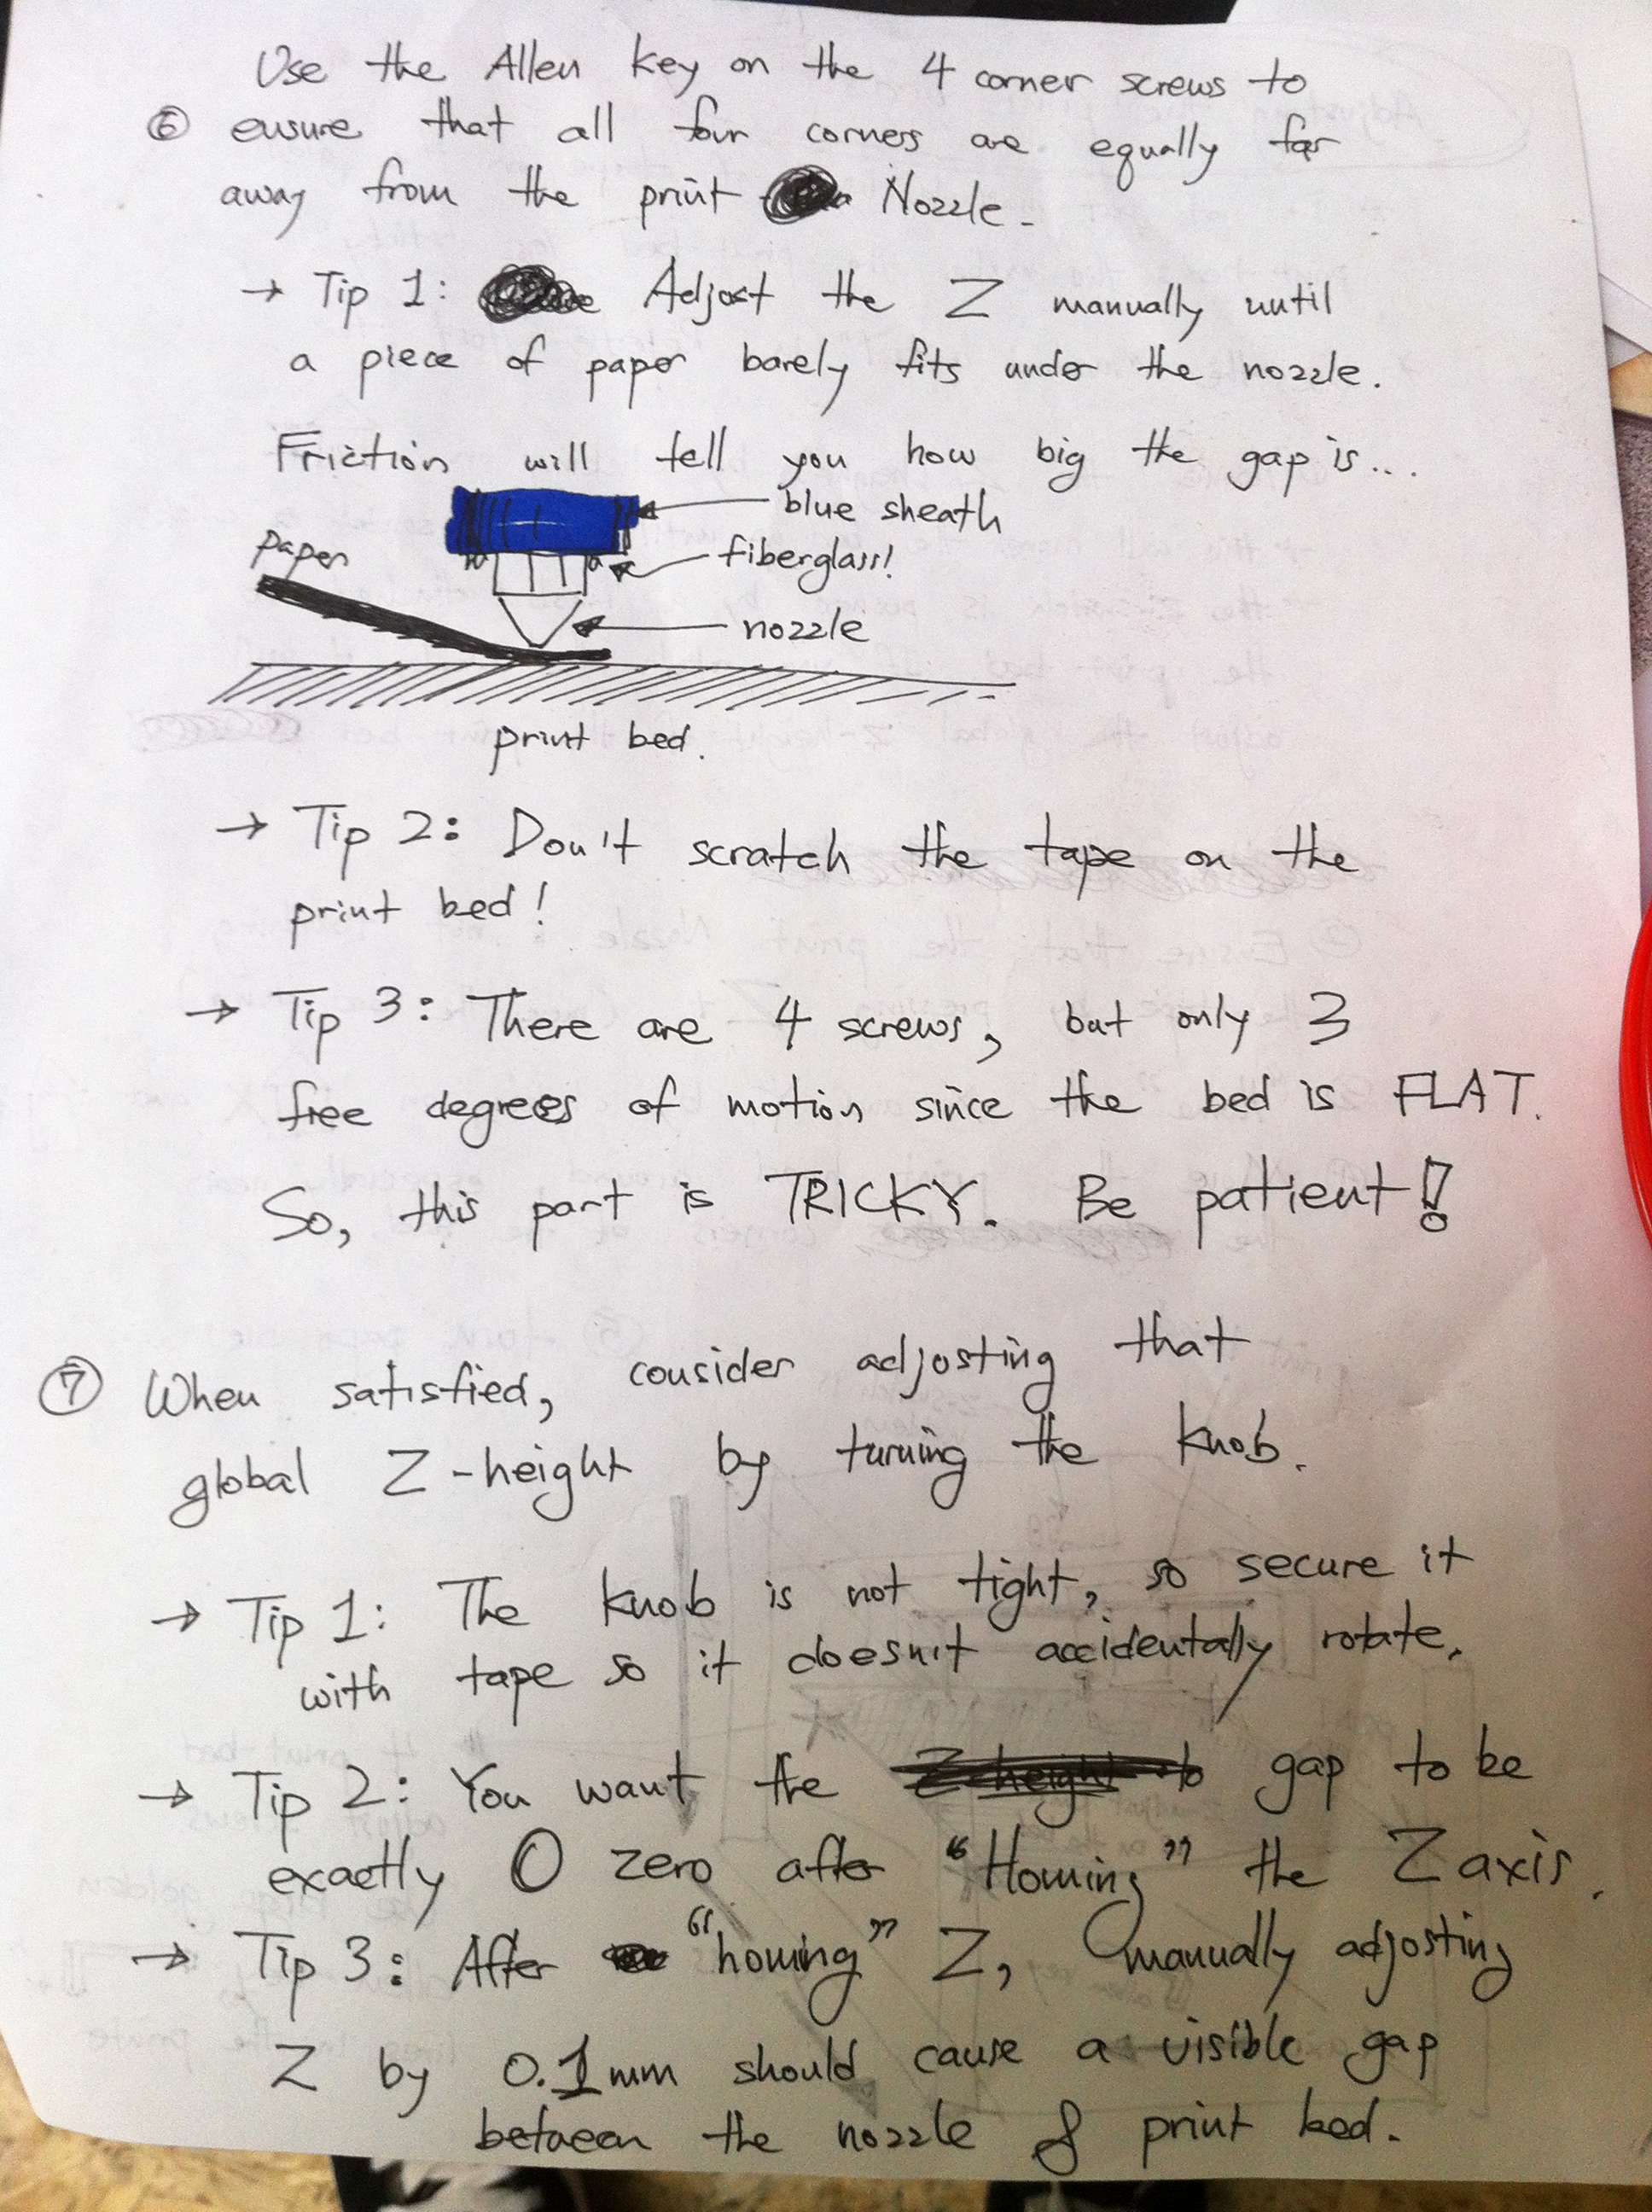
Printer Calibration
Background: Original handwritten piece by Jae. This was the primary documentation for most of the early SudoRoom days and was writen down on a piece of paper. It's quite excellent.
