Difference between revisions of "Rocket stove"
(Moving this here. ~~ Che) |
(No difference)
|
Latest revision as of 14:06, 4 December 2013
Rocket Stove

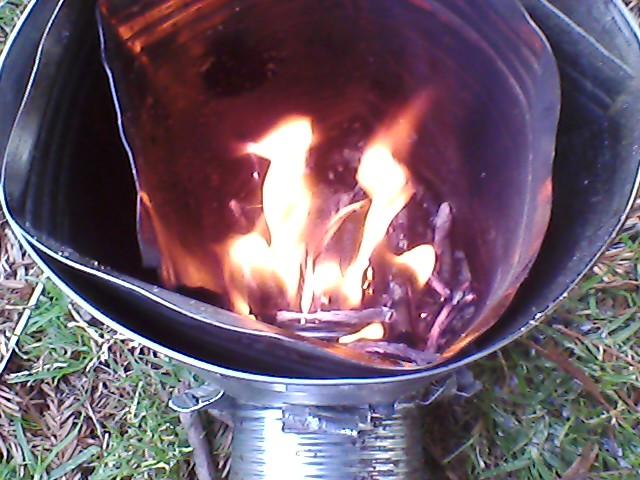
The sticks burn at the end, so you feed in more as you go. Using this method I was able to bring water to a boil very quickly. A skillet, saucepan, and coffee percolator provide your camp environment.
- Made using found materials.
- Design encourages accessibility to those without capital or experience.
- Construction skills involve bending metal and cutting metal, without welding.
- All materials are found on the street, total cost zero.
- Replicability tested. After loss, was rebuilt in a day and made at https://www.noisebridge.net/
You will need:
- 1 large coffee can, paint can, or industrial-size fruit can.
- 1 regular size soup can
- small piece of metal, for the fuel shelf.
- large piece of metal, or interior can with less diameter than the outer canister.
Tools: Necessary tools:
- vice grips or pliers to grab and bend metal (for bending metal experiments),
- something sharp: scissors, garden shears, knife, or pliers.
Steps:
1. Cut the bottom off of the soup can. You might use a can opener even, so long as you get the bottom off so that it is a hollow tube.
2. Cut an equal-sized hole in the bottom side of the large tin can. When busted open, this should fit the soup can inside it.
3. The fuel shelf is always the easiest for me to find. This is a narrow piece of metal which can usually be wedged into the soup can.
4. Insert the fuel shelf into the soup can. If needed, glue this in place.
5. The inner chamber can be made with a smaller can or an untreated piece of flat metal that's as wide as the coffee can is tall, and as long as you want. This piece of metal is bent into a small circle, which lets air vent directly upwards without any interfering wavelengths. It remains to be seen if the stove could still be effective without the inner chamber division.
6. Line up paper, and rest sticks on the tray. You are ready for ignition.
7. Spark the paper and the blaze will light the sticks. Because of the air intake, the fire can burn for a long time!
Use directions:
The Rocket Stove will burn cleanly for an extended period of time with only minimal twigs for fuel. The combustion is at the end of the sticks only, or the center of the chamber. Air enters from below the fuel intake rack, and is heated up and rises straight up to the bottom of the pot.
If you want to cook or boil water on the rocket stove, you will need to find a grate or screen to put over the top of the stove, and the diameter of your cooking pot must be less than the diameter of the stove. A pot skirt may be added, with a wider tube, in order to also heat the side of the pot. Generally, the more sticks you put in, the hotter. Try it!
Crunch, hack... Good luck! Wikimedia Commons Picture: [1] Metal Experiments