Difference between revisions of "3DPrinting"
Jump to navigation
Jump to search
| Line 35: | Line 35: | ||
* Move the print head around, especially near the [holy scriptures erased] corners of the bed | * Move the print head around, especially near the [holy scriptures erased] corners of the bed | ||
* Turn the paper over | * Turn the paper over | ||
* Use the allen key on the 4 corner screws to ensure that all four corners are equally far away from the print Nozzle. | |||
* Tip 1: Adjust the Z manually until a piece of paper barely fits under the nozzle. Friction will tell you how big the gap is... | |||
* Tip 2: don't scratch the tape on the print bed! | |||
* Tip 3: There are 4 screws, but only 3 free degrees of motion since the bed is FLAT. So this part is TRICKY. Be patient! | |||
* When satisfied, consider adjusting that global Z-height by turning the knob. | |||
* Tip 1 - the knob is not tight, so secure it with the tape so it doesn't accidentally rotate. | |||
* Tip 2- You want the gap to be exactly 0 zero after "homing" the Zaxis | |||
* Tip 3 - After "homing" z, manually adjusting z by 0.1 mm should cause a visible gap between the nozzle & print bed. | |||
= Gallery of Creations = | = Gallery of Creations = | ||
Revision as of 18:28, 14 April 2013
3D Printing Events
- April 20. 2013 - Just enough sketchup to pretend you can 3d model II & Just enough slic3r to pretend you can extrude I
Hardware
We have a Type A 3D Printer.
Documentation
There's an apocryphal sheet of paper with the perfect set of instructions. It was left by the Early Ones, the Savior Jay. We keep an electronic copy of the original on the Wiki but all new followers should read and reread the UrText in person, accompanied by a SudoRoom mentor.
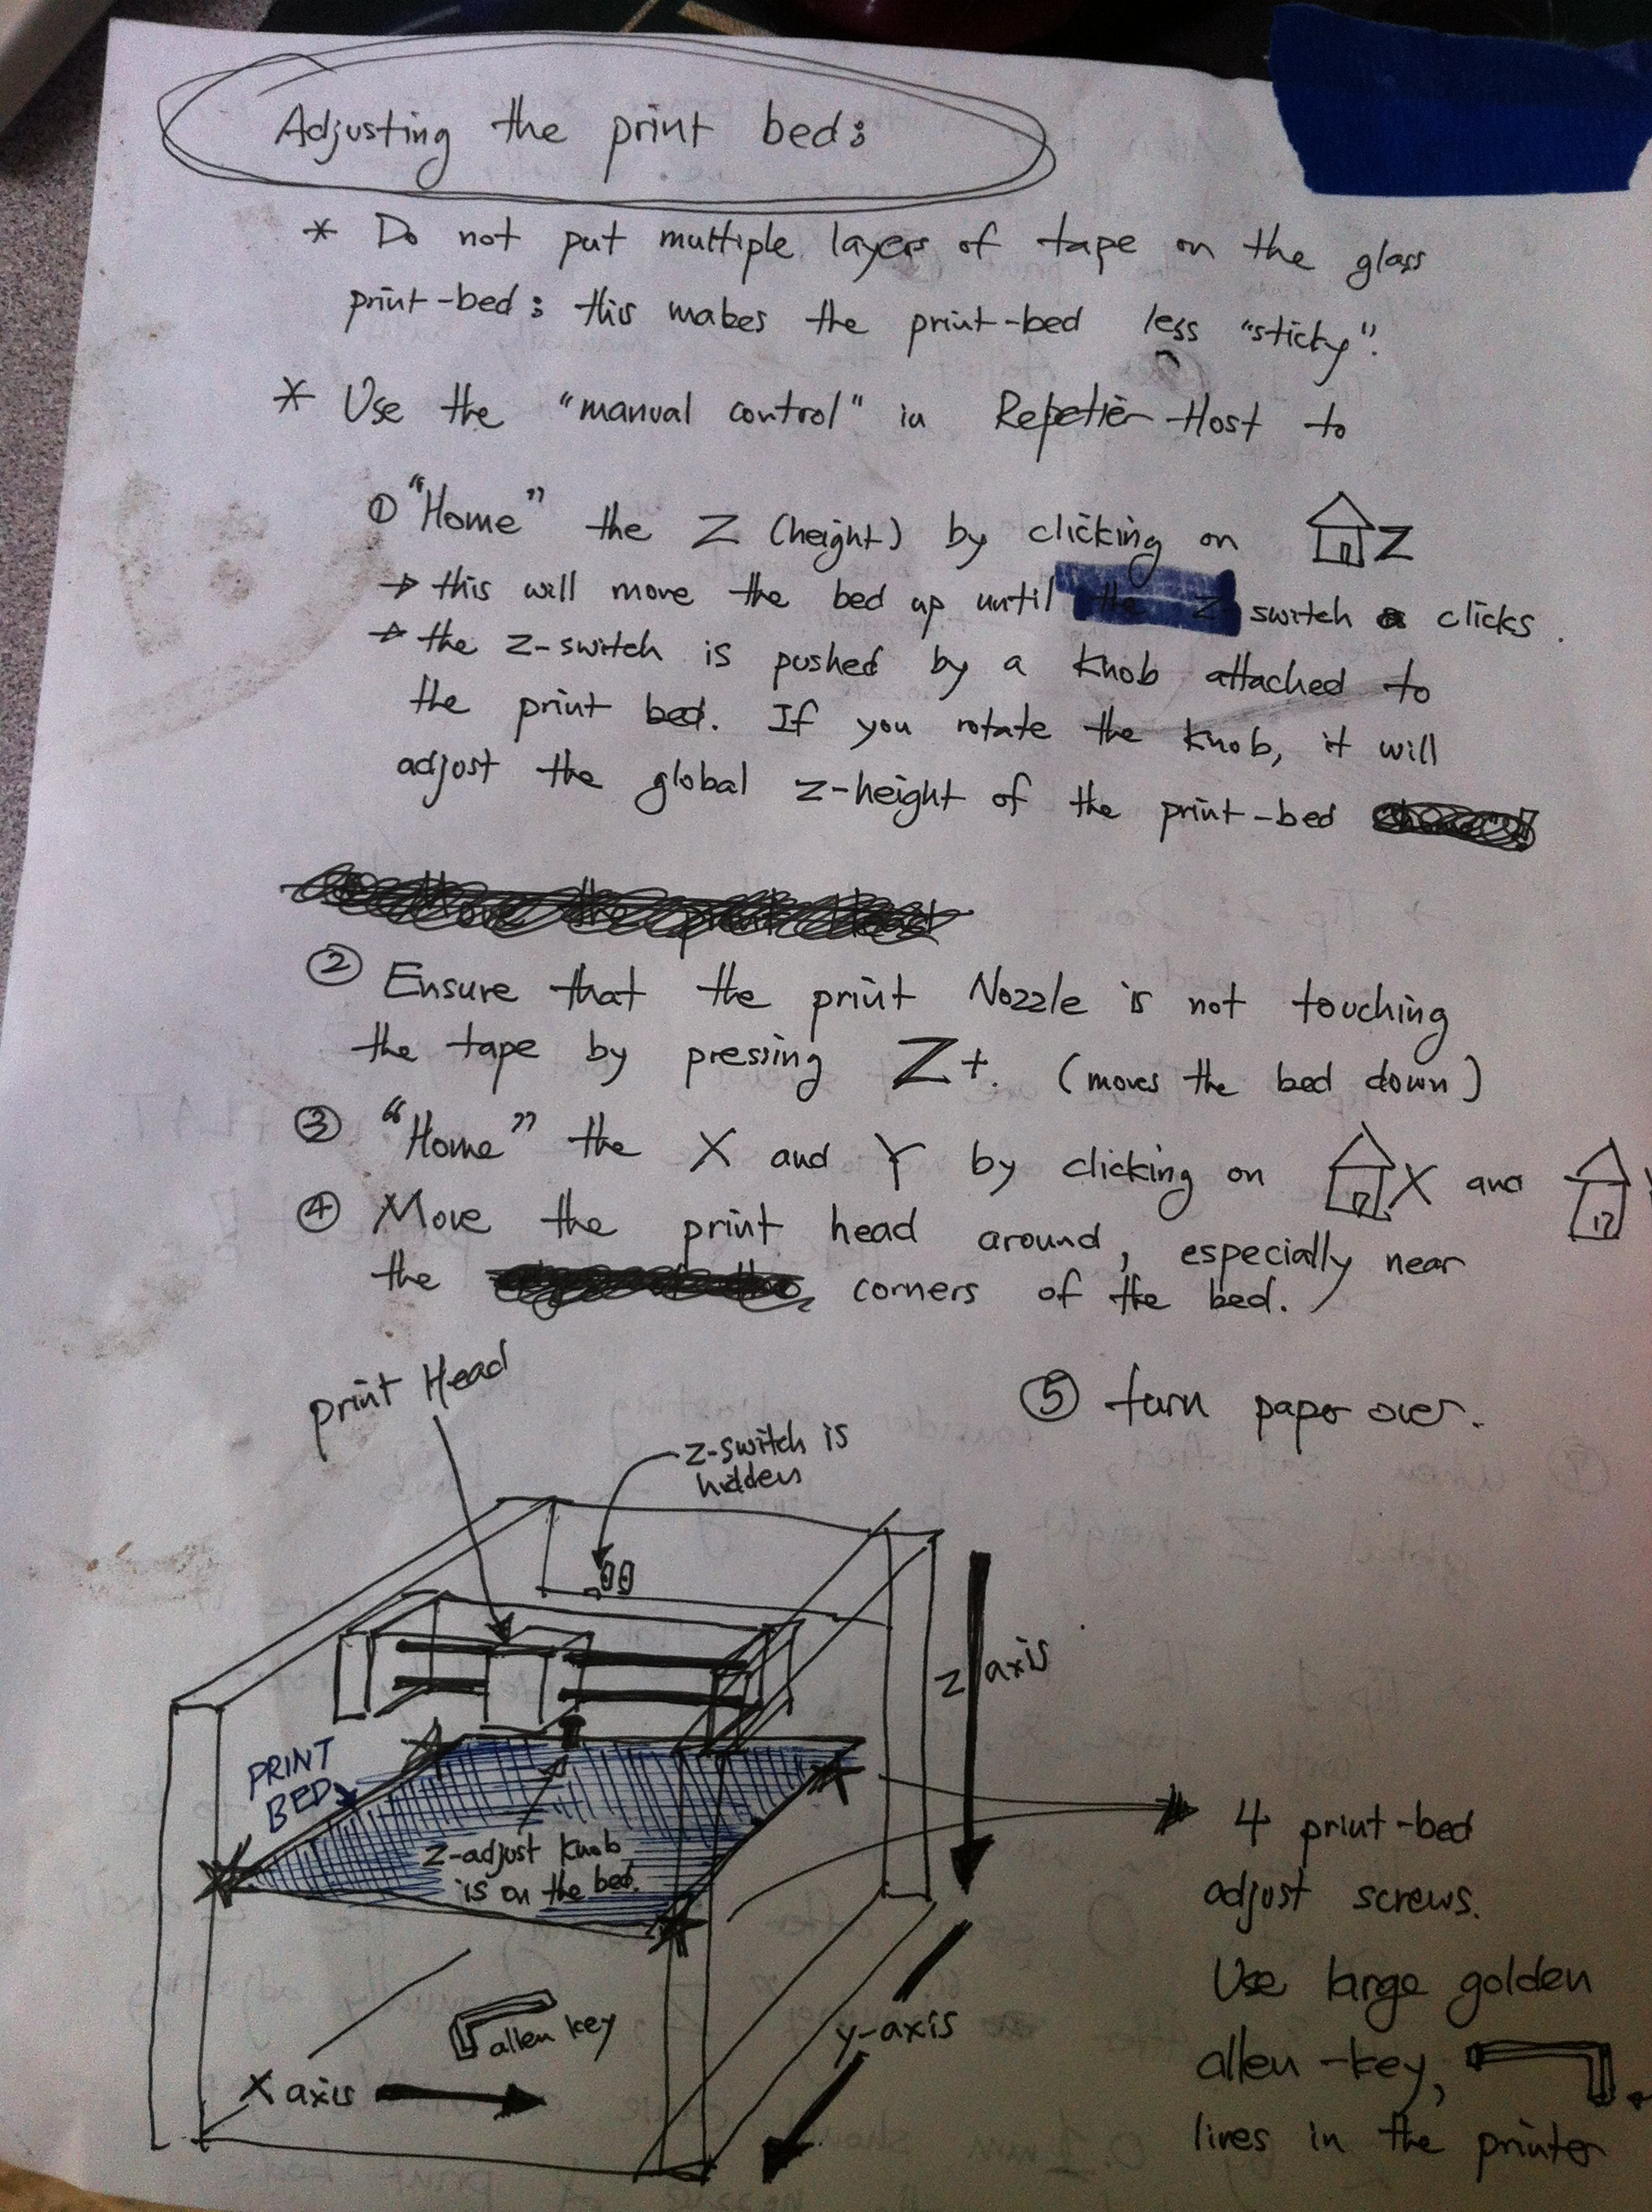
Apocryphal Instructions page 1
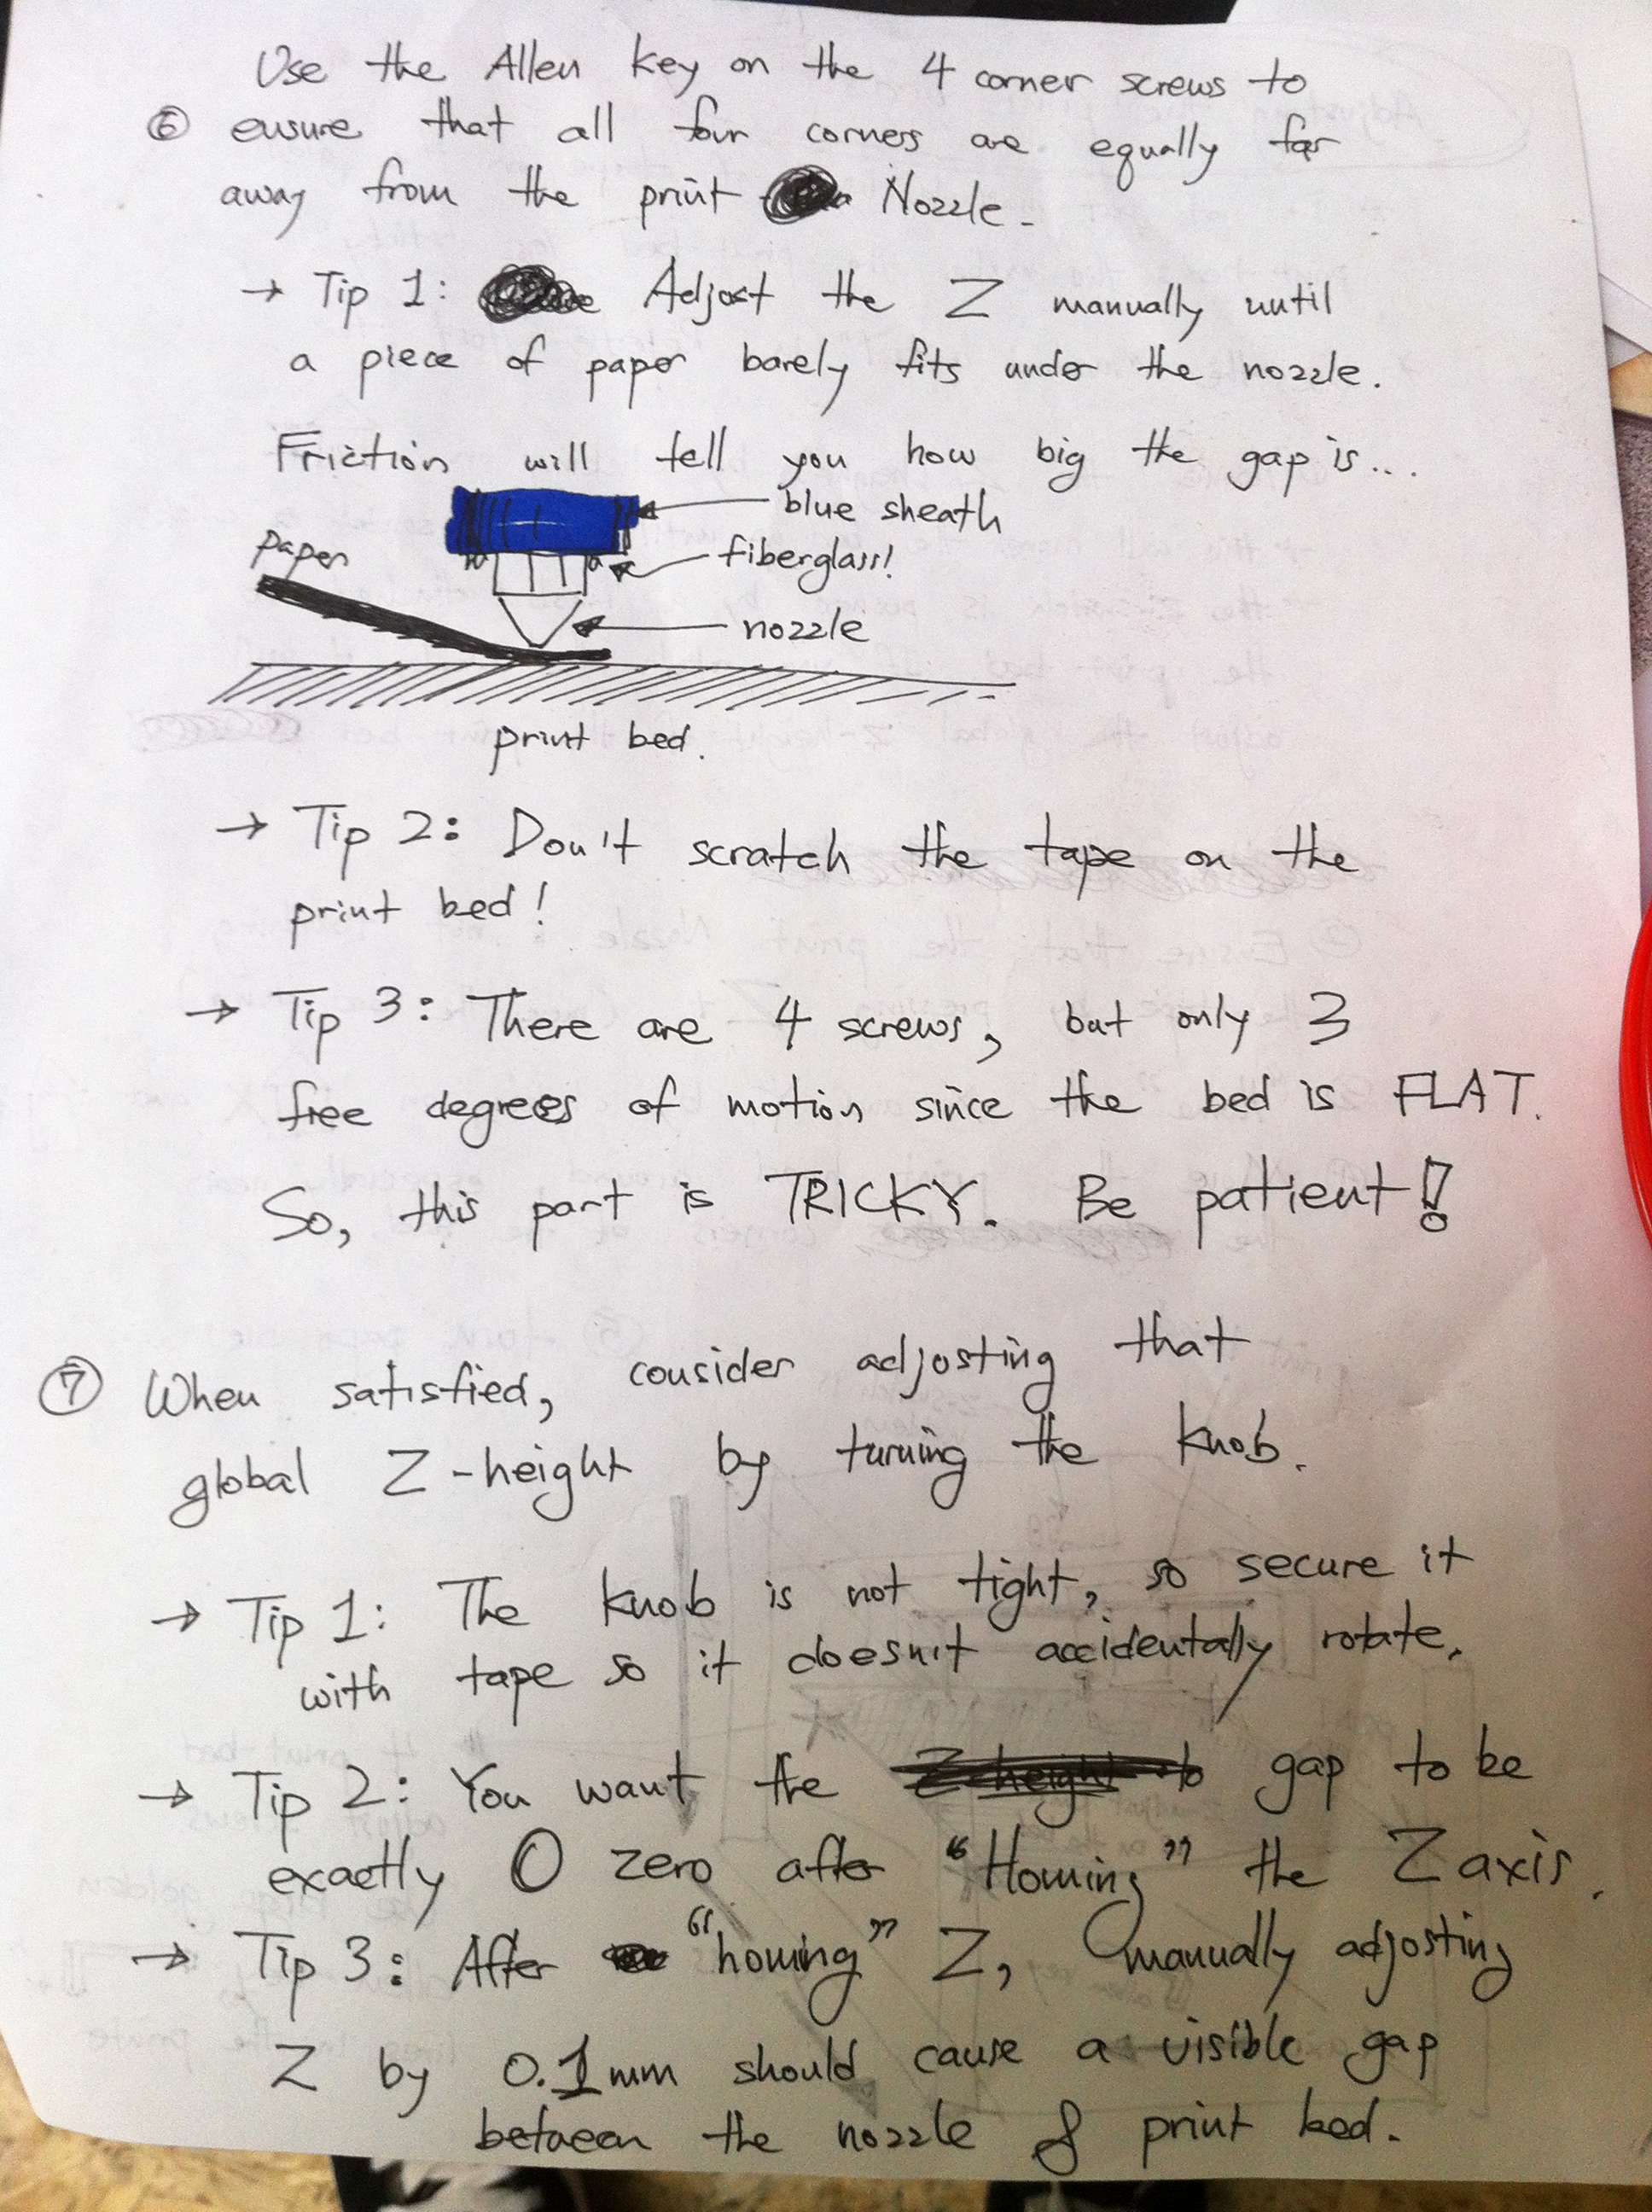
Apocryphal Instructions page 2
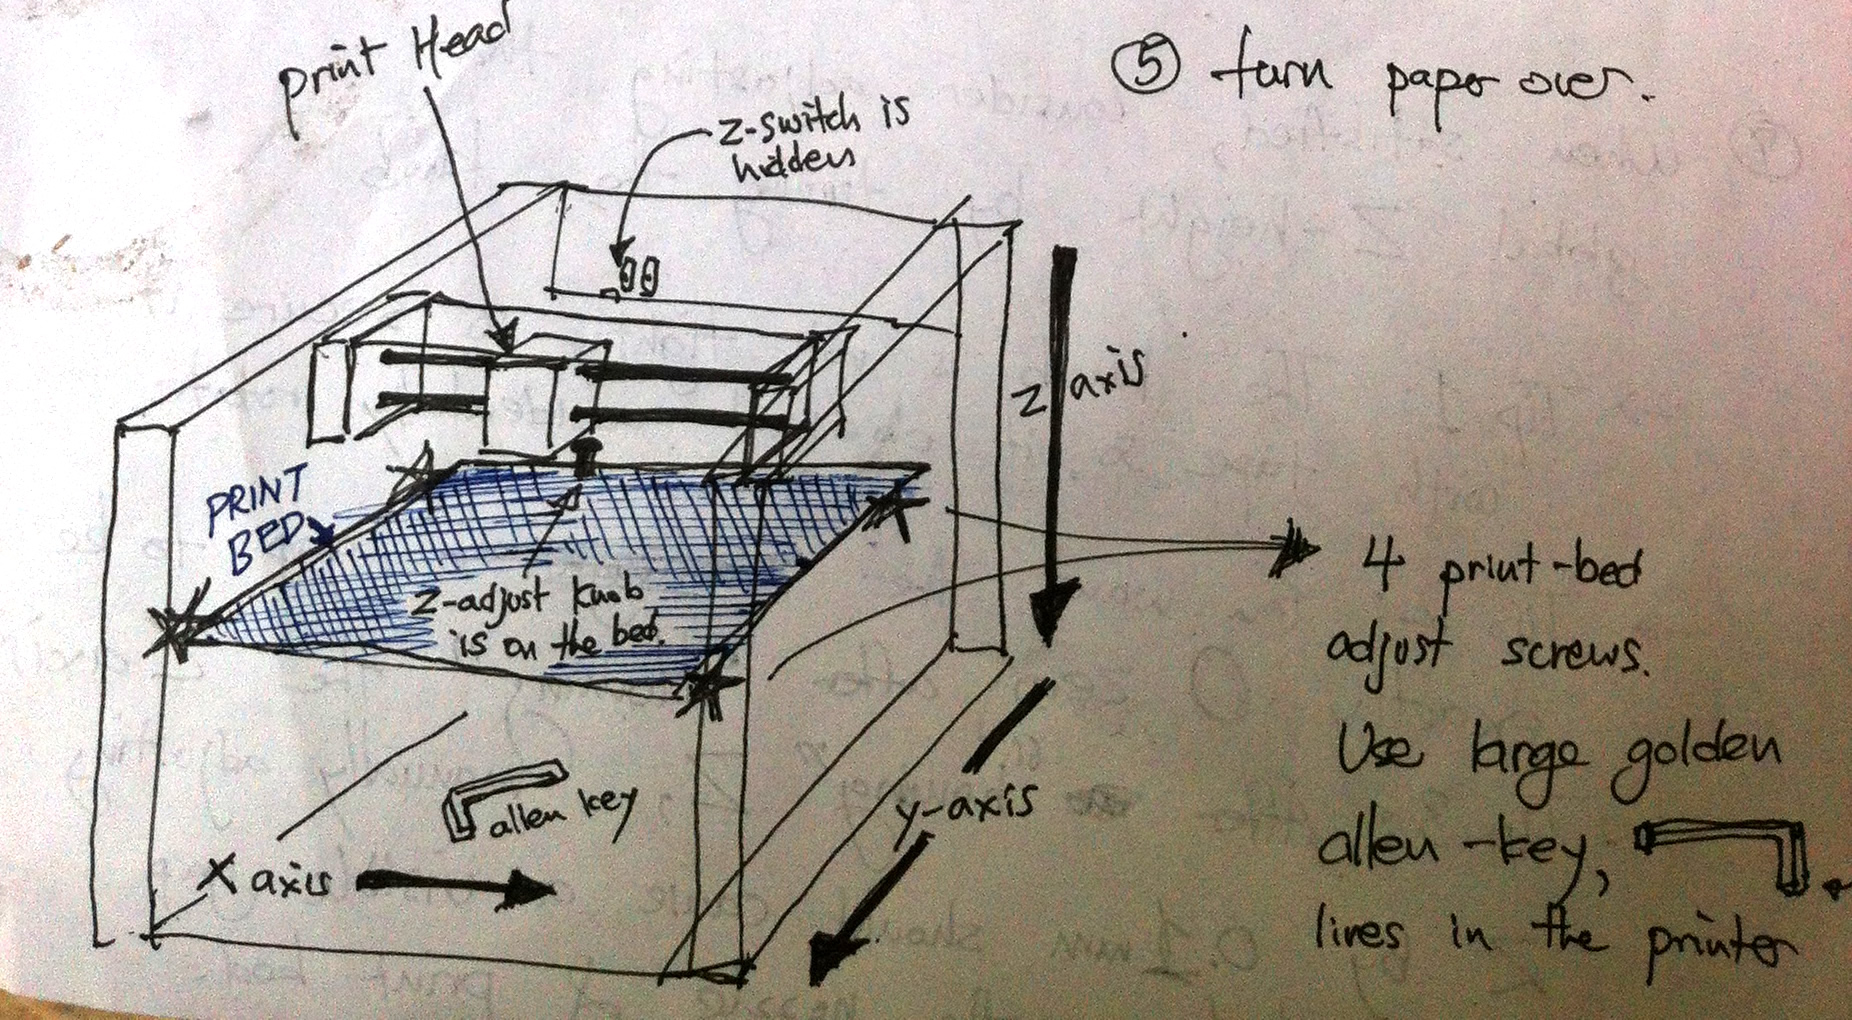
Close up of an ancient hand-drawn diagram by our 3D printing shepherd, Jay


Adjusting the Print Beds
- Do not put multiple layers of tape on the glass print-bed: this makes the print-bed less "sticky"
Use the "manual control" in Repetier-Host to
- "Home" the Z (height) by clicking on the Home-Z
- This will move the bed up until ?? switch cliks
- the Z-Switch is pushed by a knob attached to the print bed. If you rotate the knob, it will adjust the global z-height of the print-bed
- Ensure the print nozzle is not touching the tape by pressing Z+ (move the bed down)
- "Home" the X & Y by clicking on HomeX and Home?
- Move the print head around, especially near the [holy scriptures erased] corners of the bed
- Turn the paper over
- Use the allen key on the 4 corner screws to ensure that all four corners are equally far away from the print Nozzle.
- Tip 1: Adjust the Z manually until a piece of paper barely fits under the nozzle. Friction will tell you how big the gap is...
- Tip 2: don't scratch the tape on the print bed!
- Tip 3: There are 4 screws, but only 3 free degrees of motion since the bed is FLAT. So this part is TRICKY. Be patient!
- When satisfied, consider adjusting that global Z-height by turning the knob.
- Tip 1 - the knob is not tight, so secure it with the tape so it doesn't accidentally rotate.
- Tip 2- You want the gap to be exactly 0 zero after "homing" the Zaxis
- Tip 3 - After "homing" z, manually adjusting z by 0.1 mm should cause a visible gap between the nozzle & print bed.
Gallery of Creations
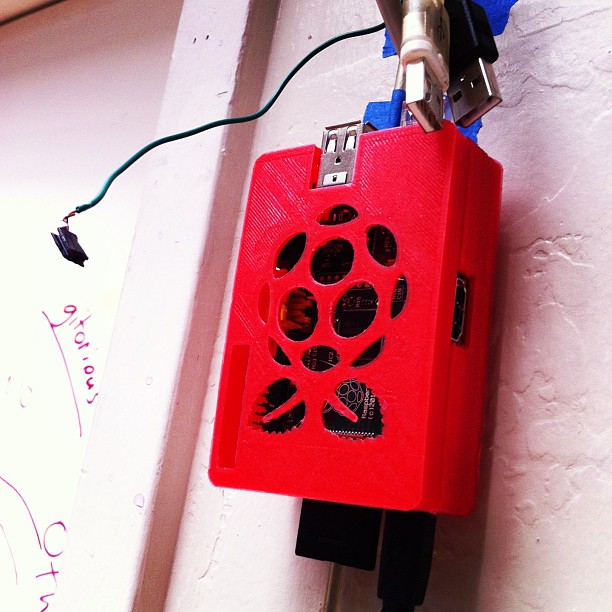
RaspBerry Pi print-out
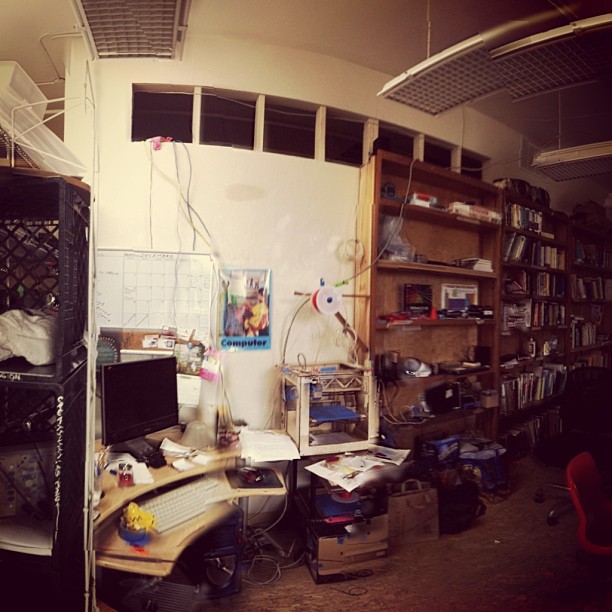
Our Office
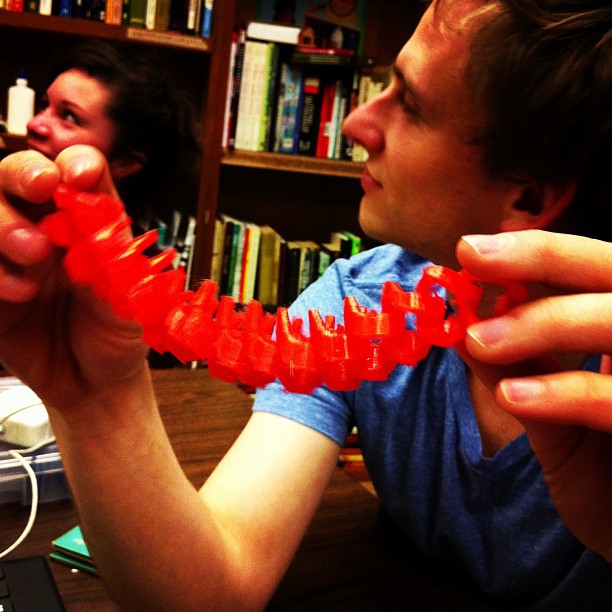
Creation

Today I Learned Class


