Difference between revisions of "3DPrinting"
Jump to navigation
Jump to search
Rabbitface (talk | contribs) (Adding a photo) |
|||
| Line 1: | Line 1: | ||
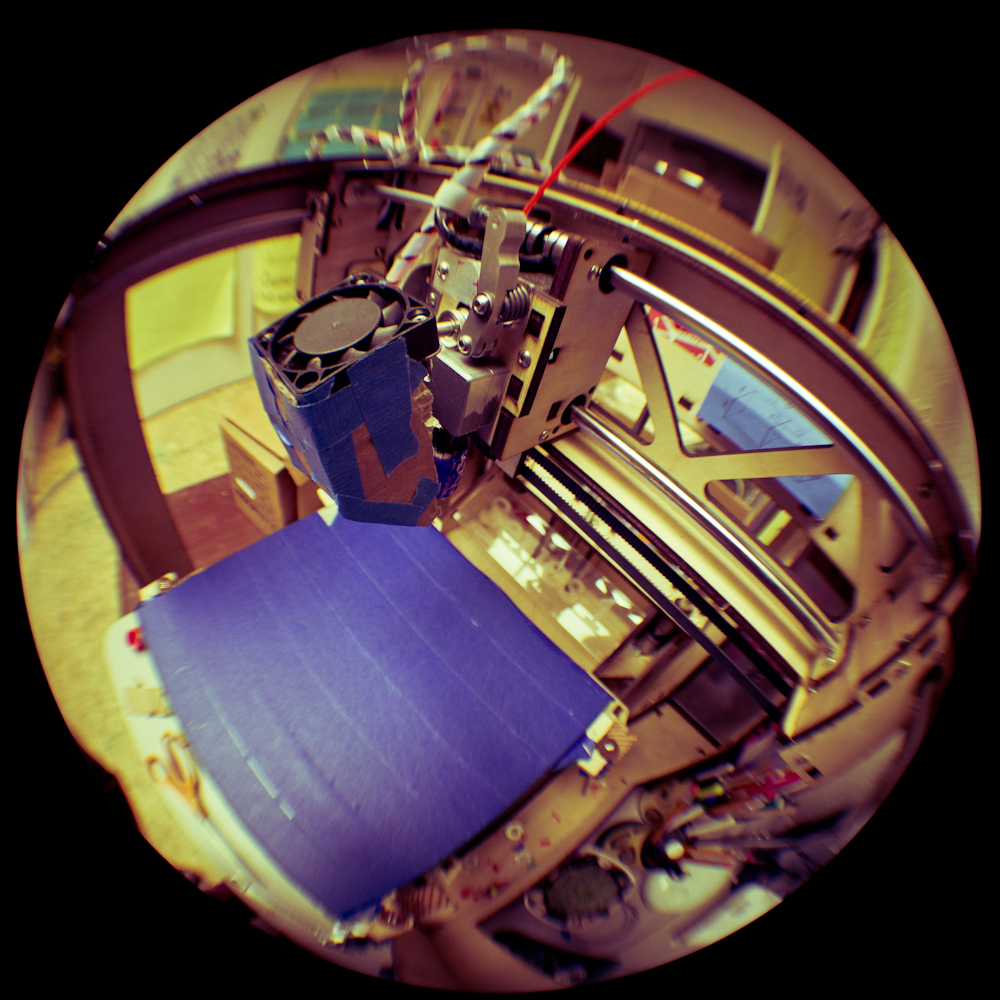
[[File:3dprinterfisheye02.jpg|thumb]] | |||
== [[3DPrintingEvents|3D Printing Events]] == | == [[3DPrintingEvents|3D Printing Events]] == | ||
* April 20. 2013 - [[Just enough sketchup to pretend you can 3d model II & Just enough slic3r to pretend you can extrude I]] | * April 20. 2013 - [[Just enough sketchup to pretend you can 3d model II & Just enough slic3r to pretend you can extrude I]] | ||
== Mentoring in 3D Printing == | == Mentoring in 3D Printing == | ||
| Line 10: | Line 11: | ||
==Hardware== | ==Hardware== | ||
We have a Type A 3D Printer. | We have a Type A 3D Printer. | ||
== Documentation == | == Documentation == | ||
[[File:JaySavior3Dprinting.jpg|400px|thumb|right|3D printers were a prophecy even in ancient times. Note the spool of red ABS plastic and the wise, jay-like figure teaching Sketchup.]] | |||
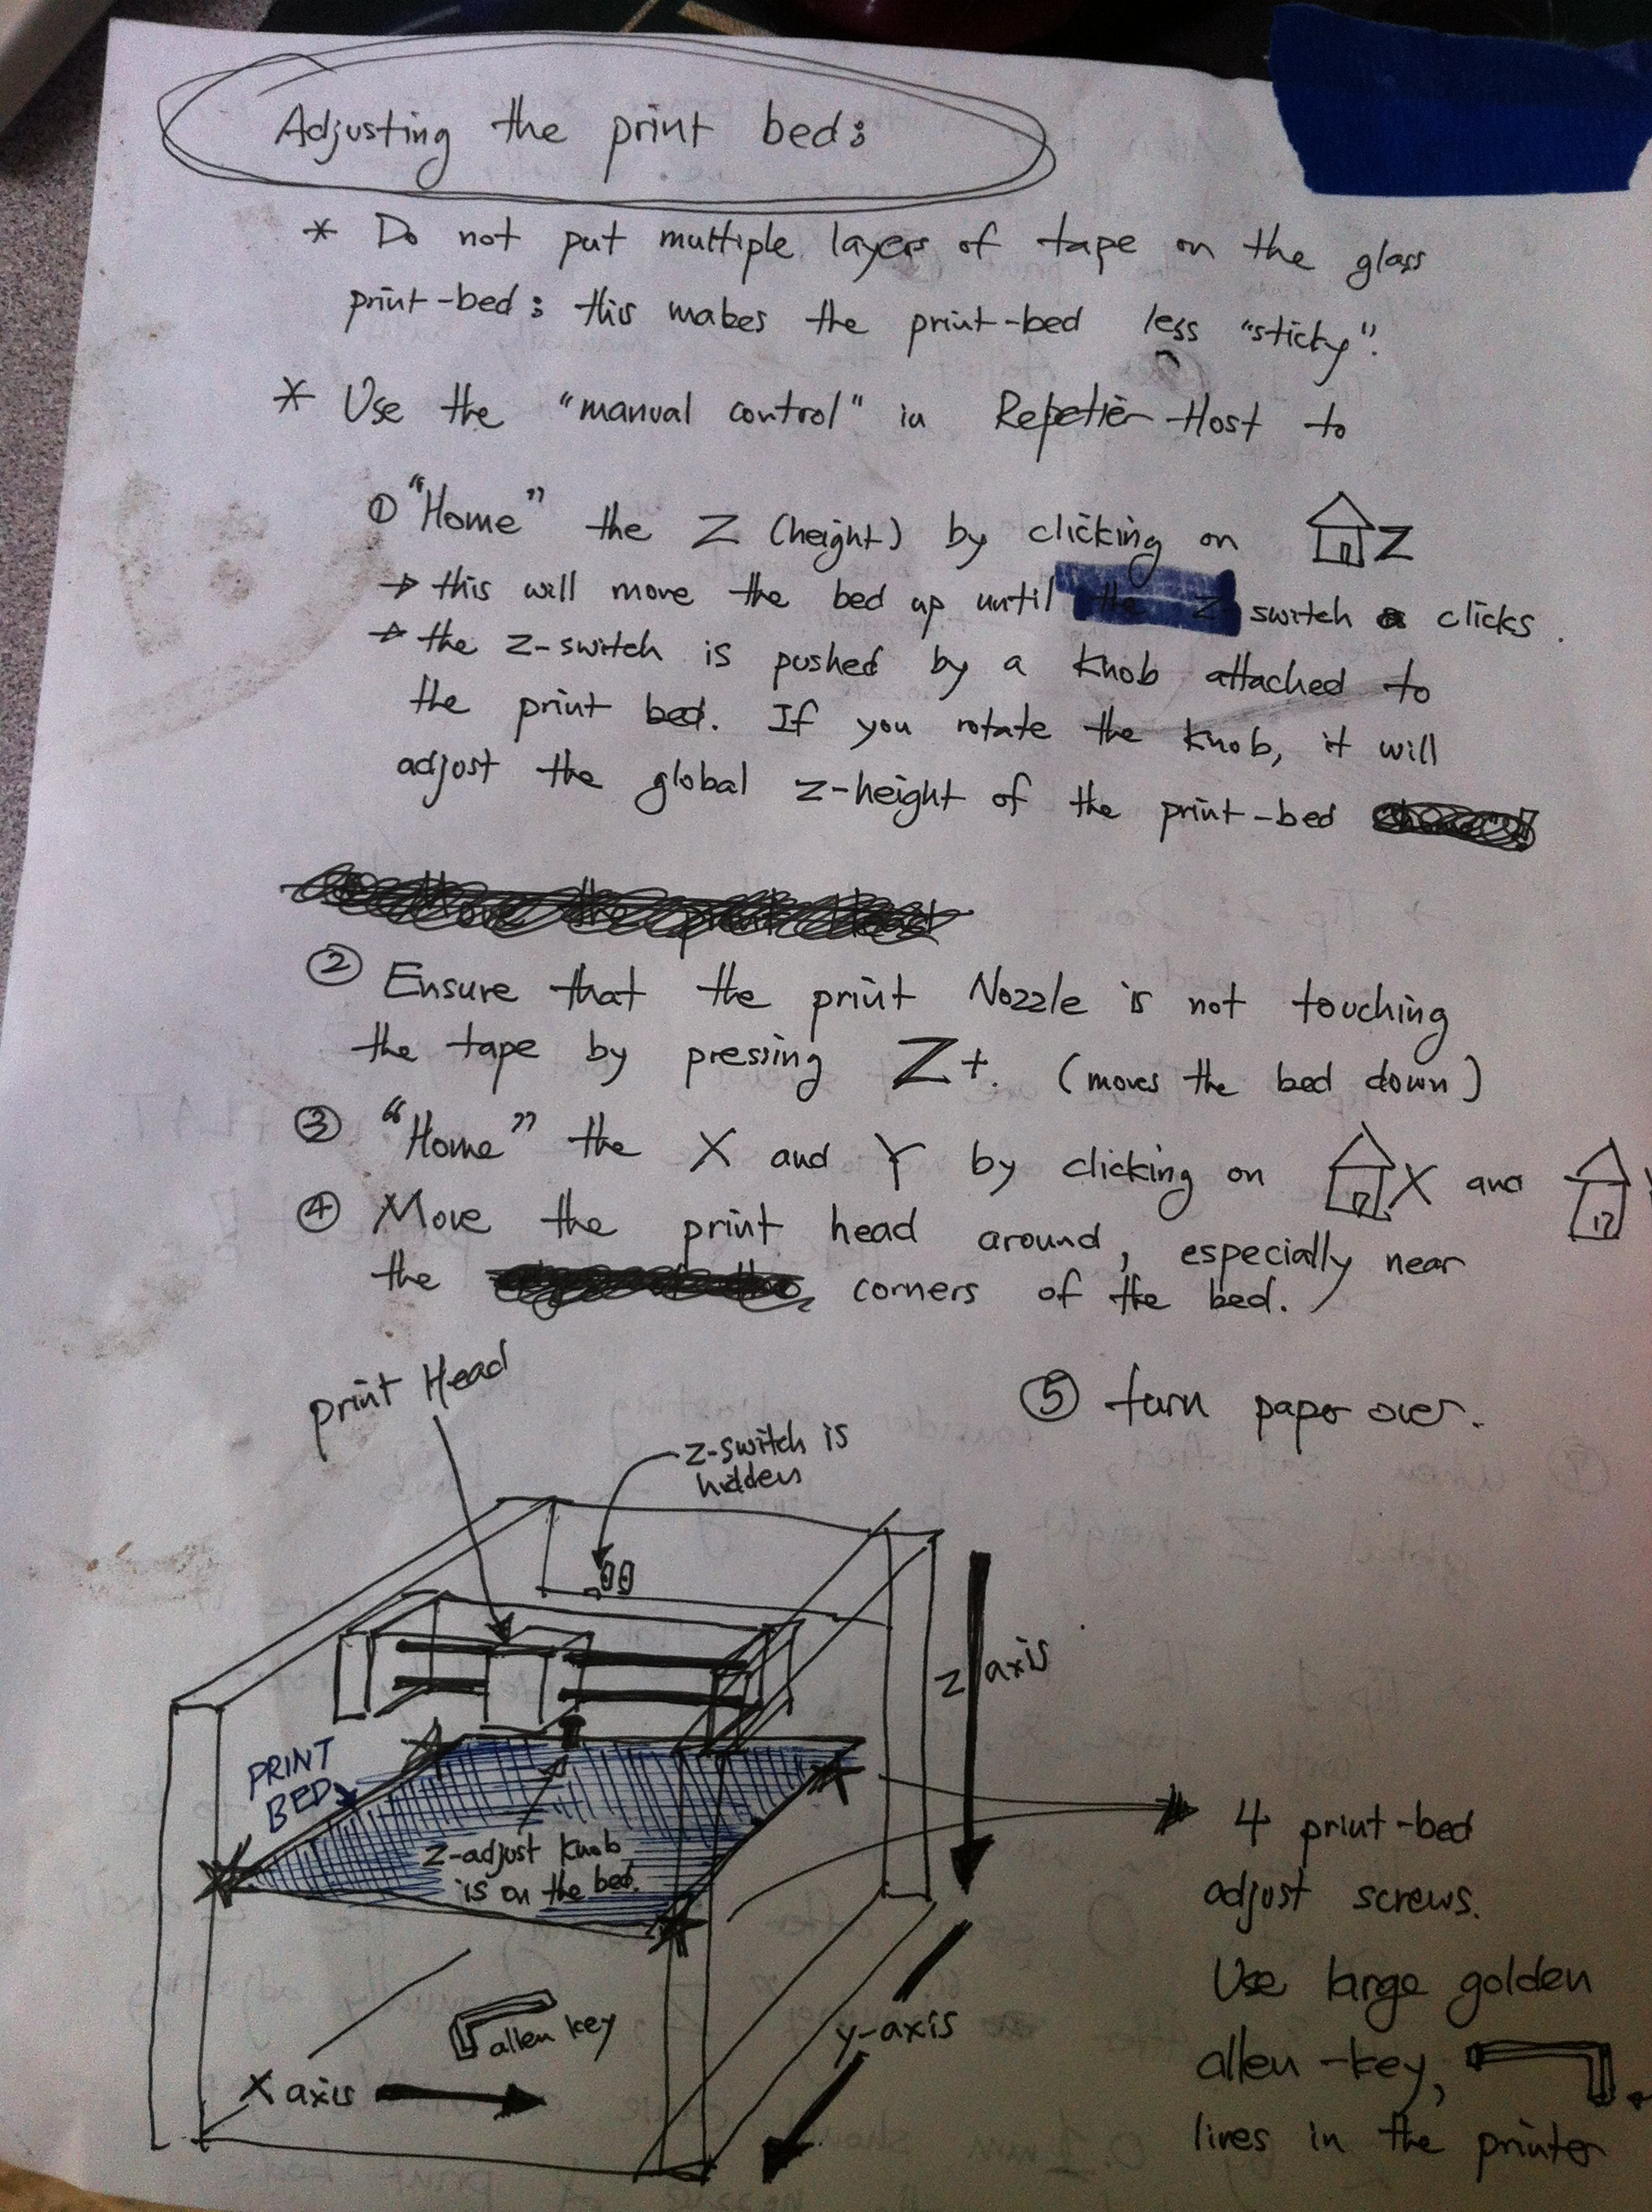
There's an apocryphal sheet of paper with the perfect set of instructions. | There's an apocryphal sheet of paper with the perfect set of instructions. | ||
| Line 49: | Line 52: | ||
* Tip 3 - After "homing" z, manually adjusting z by 0.1 mm should cause a visible gap between the nozzle & print bed. | * Tip 3 - After "homing" z, manually adjusting z by 0.1 mm should cause a visible gap between the nozzle & print bed. | ||
= Gallery of Creations = | == Gallery of Creations == | ||
<gallery widths="140px" heights="140px" perrow="4"> | <gallery widths="140px" heights="140px" perrow="4"> | ||
Revision as of 19:16, 20 April 2013
3D Printing Events
- April 20. 2013 - Just enough sketchup to pretend you can 3d model II & Just enough slic3r to pretend you can extrude I
Mentoring in 3D Printing
- User:Maximilianklein and Yardena are the 3D Printing whiz kids - you can always go to them for mentorship and help (be considerate of their time)
- We await the fateful return of our hero Jay, who brought us the good Word of 3D Printing and had to leave us to save us. He bought our printer, wrote all the instructions and got things done. He is always in our hearts and minds. I propose leaving kimchi out as an offering to hopefully quicken his rapturous rejoining.
Hardware
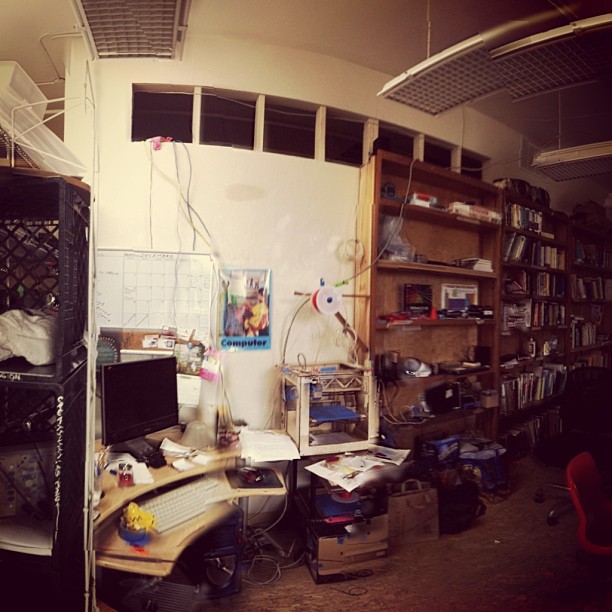
We have a Type A 3D Printer.
Documentation
There's an apocryphal sheet of paper with the perfect set of instructions. It was left by the Early Ones, the Savior Jay. We keep an electronic copy of the original on the Wiki but all new followers should read and reread the UrText in person, accompanied by a SudoRoom mentor.
Adjusting the Print Beds
- Do not put multiple layers of tape on the glass print-bed: this makes the print-bed less "sticky"
Use the "manual control" in Repetier-Host to
- "Home" the Z (height) by clicking on the Home-Z
- This will move the bed up until ?? switch cliks
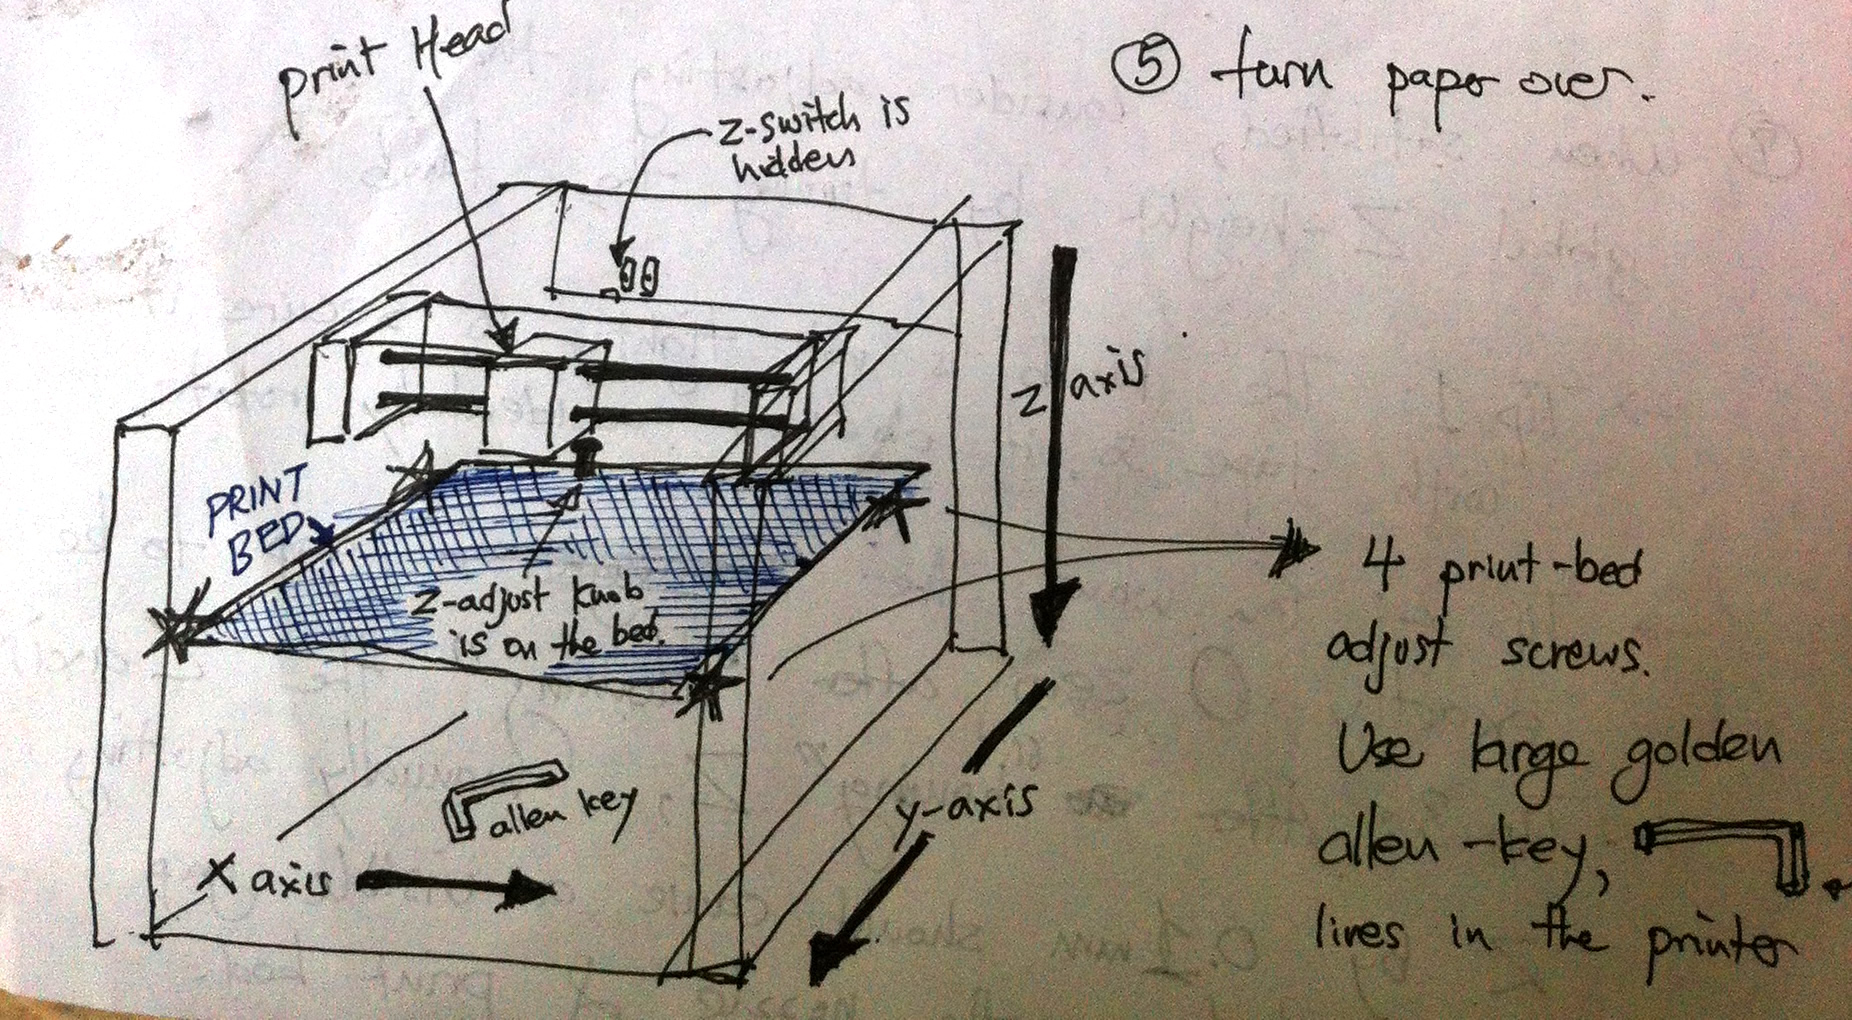
- the Z-Switch is pushed by a knob attached to the print bed. If you rotate the knob, it will adjust the global z-height of the print-bed
- Ensure the print nozzle is not touching the tape by pressing Z+ (move the bed down)
- "Home" the X & Y by clicking on HomeX and Home?
- Move the print head around, especially near the [holy scriptures erased] corners of the bed
- Turn the paper over
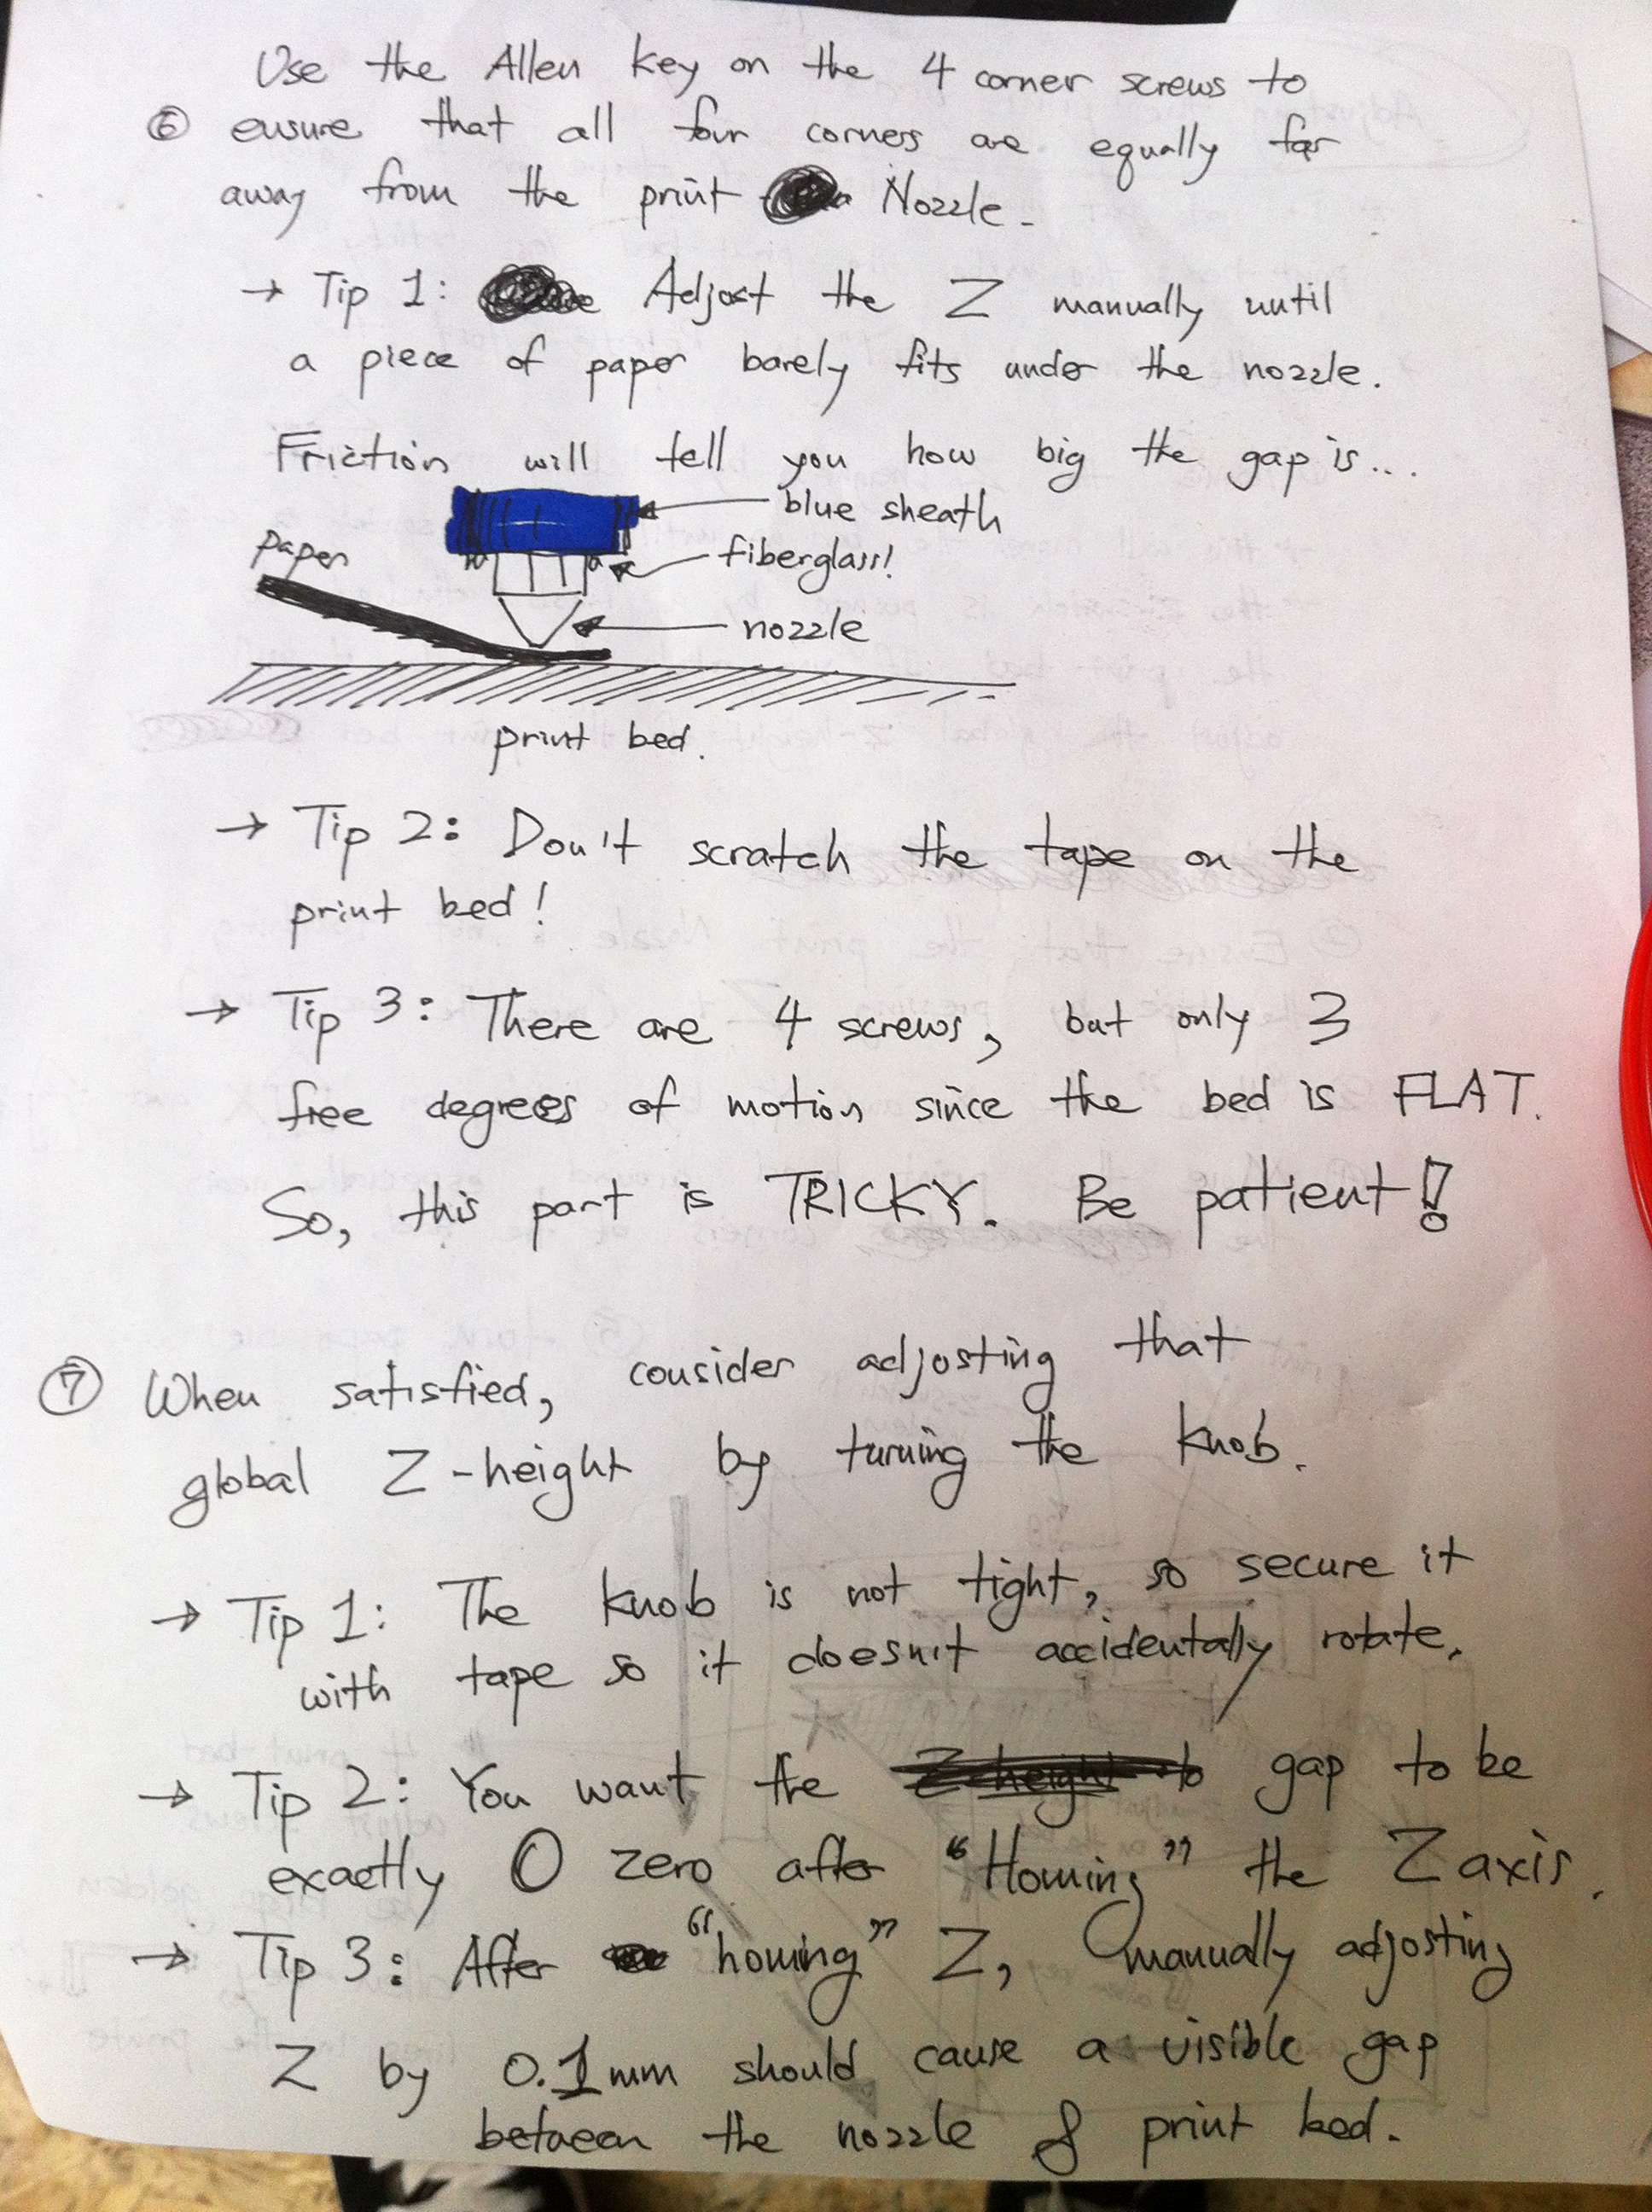
- Use the allen key on the 4 corner screws to ensure that all four corners are equally far away from the print Nozzle.
- Tip 1: Adjust the Z manually until a piece of paper barely fits under the nozzle. Friction will tell you how big the gap is...
- Tip 2: don't scratch the tape on the print bed!
- Tip 3: There are 4 screws, but only 3 free degrees of motion since the bed is FLAT. So this part is TRICKY. Be patient!
- When satisfied, consider adjusting that global Z-height by turning the knob.
- Tip 1 - the knob is not tight, so secure it with the tape so it doesn't accidentally rotate.
- Tip 2- You want the gap to be exactly 0 zero after "homing" the Zaxis
- Tip 3 - After "homing" z, manually adjusting z by 0.1 mm should cause a visible gap between the nozzle & print bed.
